


Dealing with IP restrictions and barred accounts can be nerve-wracking for those using multiple browser profiles. Thankfully, GoLogin provides a solution for multi-account users.
In this article, we will explore how to set up proxies with GoLogin.
Let’s dive right in!
What is GoLogin?
GoLogin is a browser profile management tool that helps users manage multiple online identities. It does this by helping you mask your IP address and unique digital fingerprint from sites.
The software also allows you to manipulate the settings that sites use to track your digital footprints and adjust them as you deem fit. These parameters mimic real internet identities and, therefore, helps to maintain anonymity.
Moreover, the GoLogin software allows you to open multiple browser accounts, and each of these profiles is managed separately. This way, you can open various accounts without worrying about your accounts being banned.
GoLogin is especially useful for those in digital and affiliate marketing, e-commerce, dropshipping, betting, and even web-scraping ecosystems, as the nature of these businesses often requires the creation of multiple accounts. Additionally, GoLogin allows developers to run tests on their sites and view their sites through visitors' eyes.
Before Starting
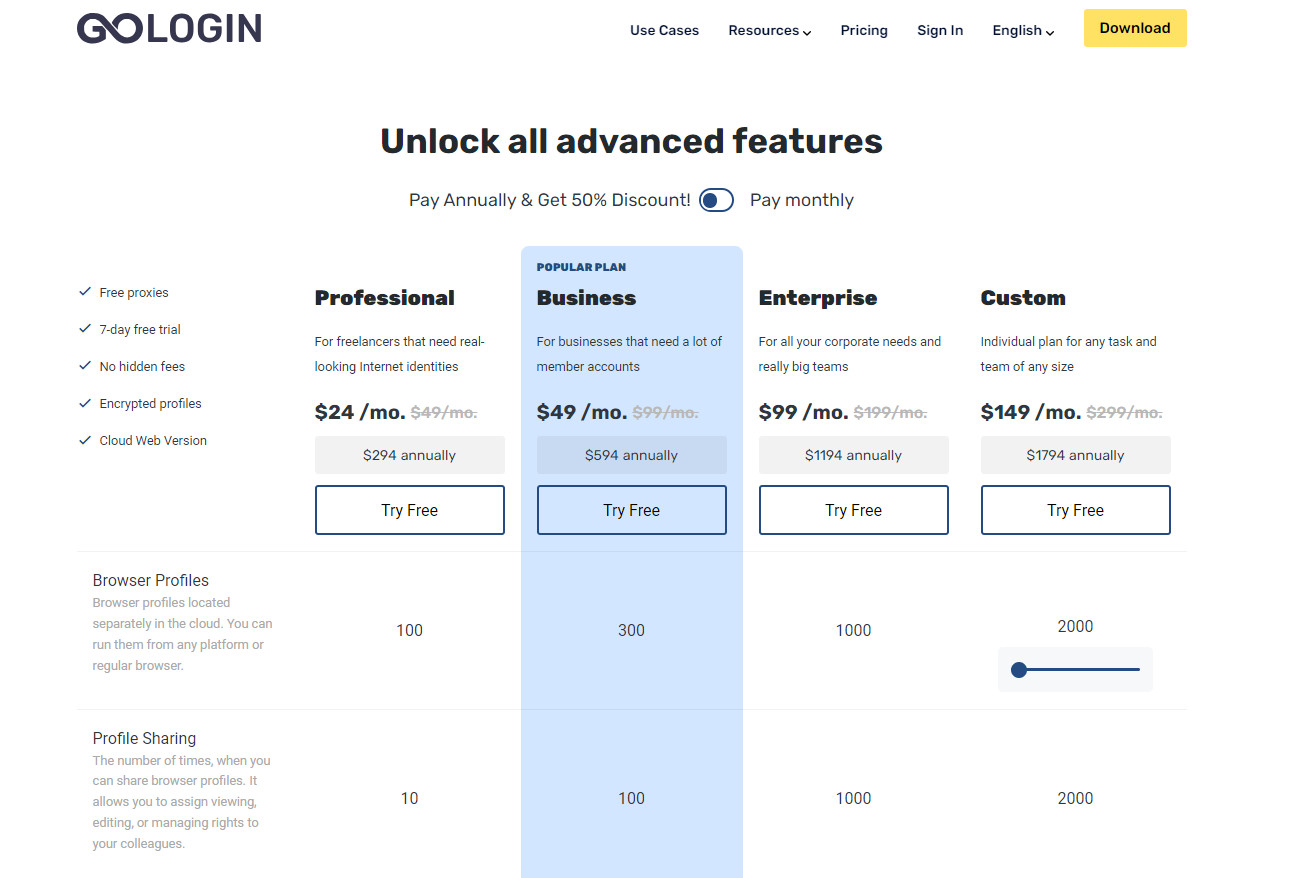
Although GoLogin is a paid service with four paid plans, it offers users a free 7-day trial period to test the software’s features. During this period, you can create three profiles per account. Each of these profiles requires the use of proxies to set them up.
Thankfully, Webshare provides these proxies and is supported by the GoLogin framework. It also gives you up to 10 premium proxies for free without asking for a credit card. To enjoy these proxies, you need to create an account with Webshare.
How to set up a single proxy in GoLogin
Here are eight simple steps to set up your GoLogin account and get access to multiple accounts.
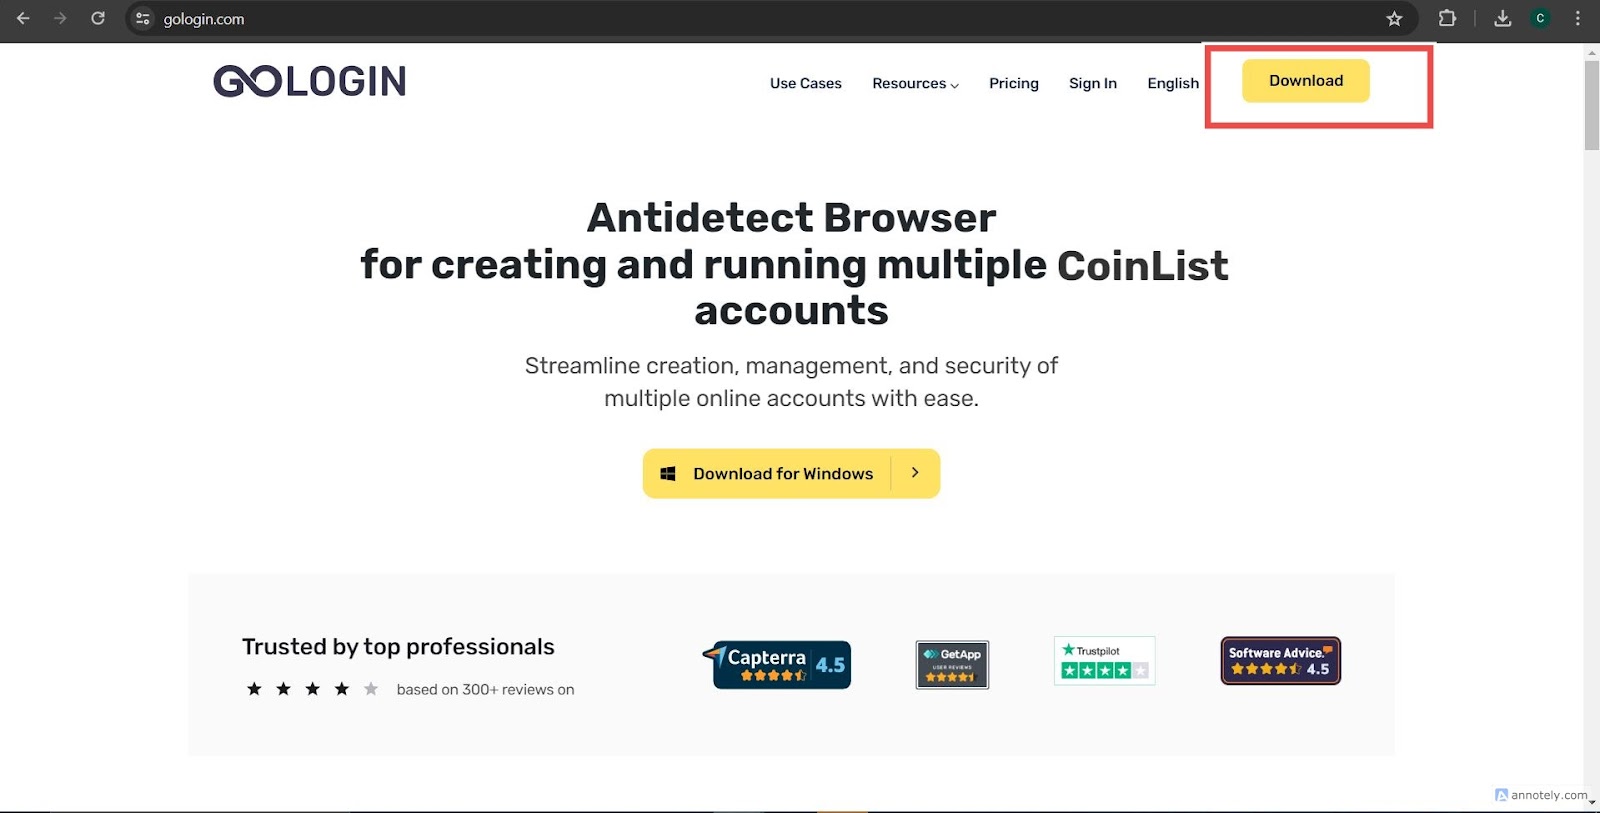
1. Download GoLogin
Visit GoLogin’s official website and click the download button at the top right corner.
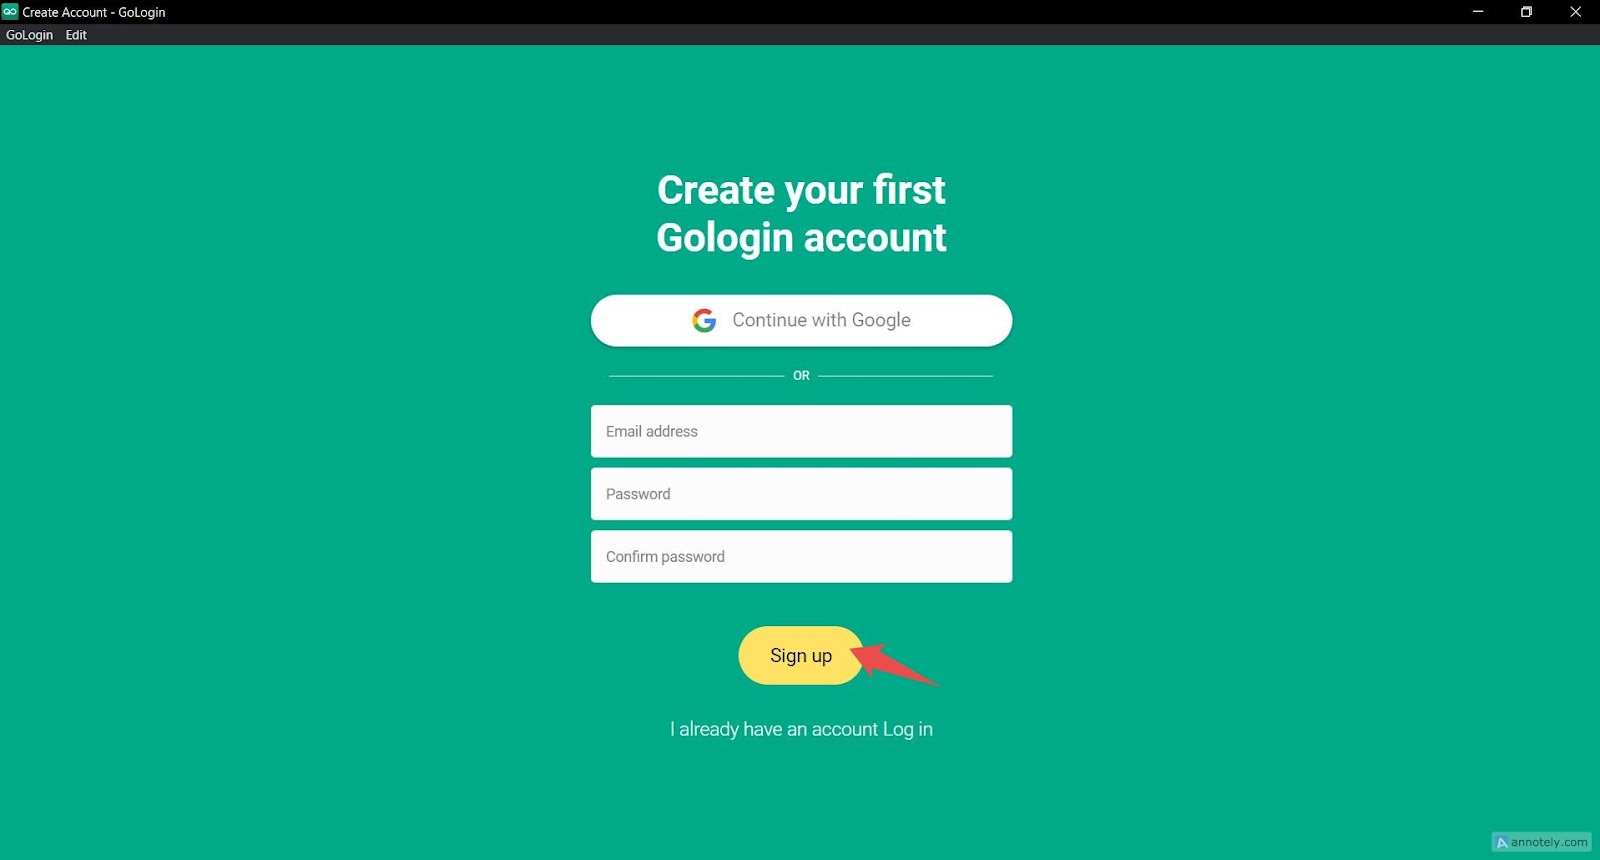
2. Create an Account
Once your download is complete, launch the GoLogin software and create your account. You can create a new account with either Google or your email address. Click Signup once you’ve filled in your details.
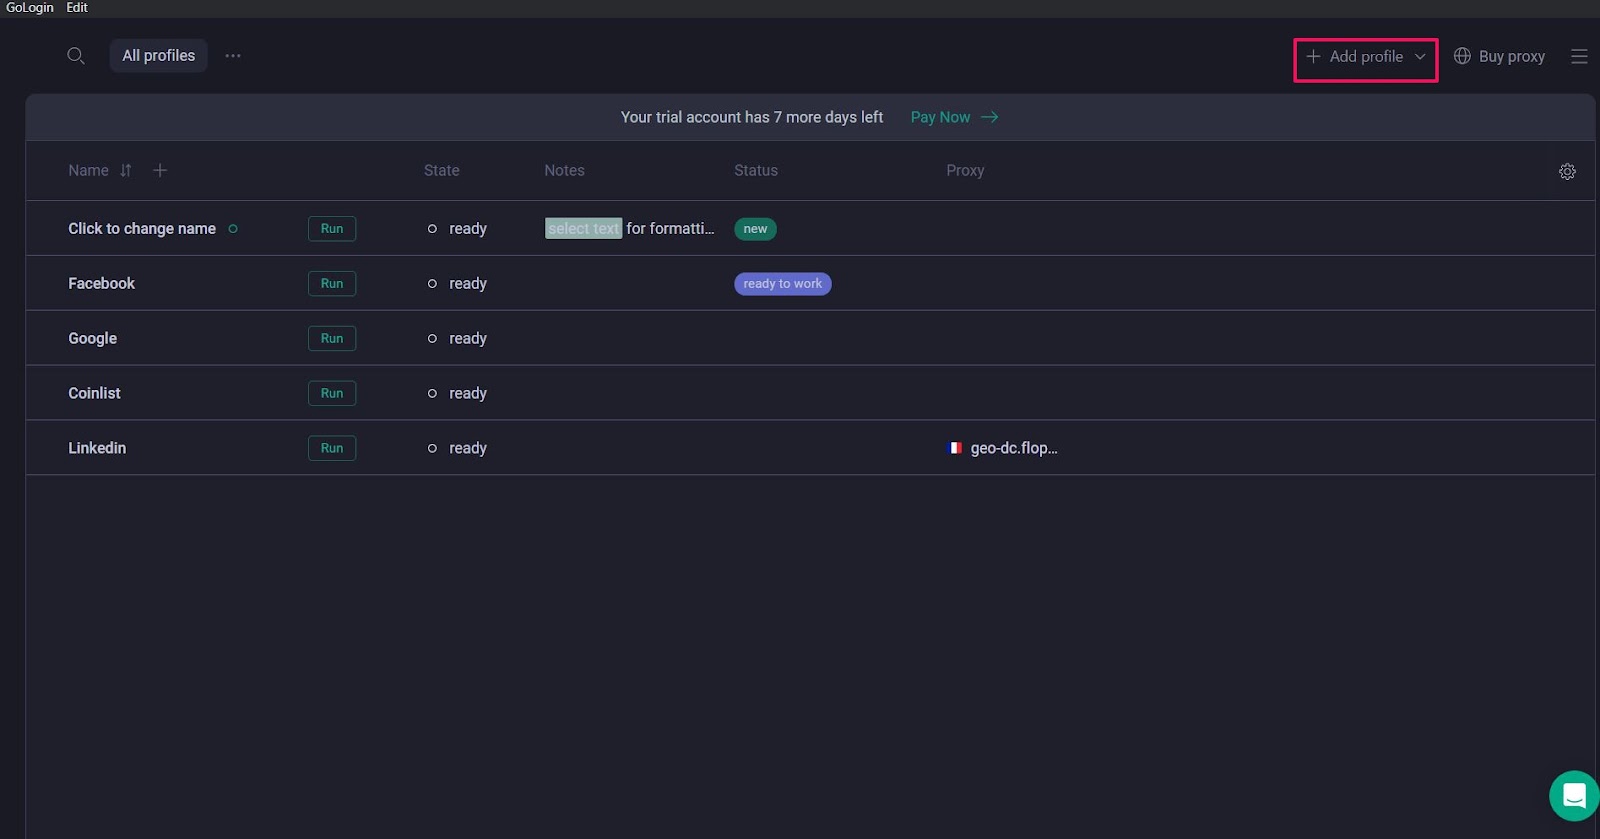
3. Create a New Profile
Once your account has been successfully set up, the following dialogue box appears. Then, click on the Add profile button at the top right corner.
4. Setup Your Profile
The dialog box below appears after clicking the Add profile icon. When this appears, name your profile and add it to an existing folder or create a new one.

5. Customize Your Preferred Proxy Settings.
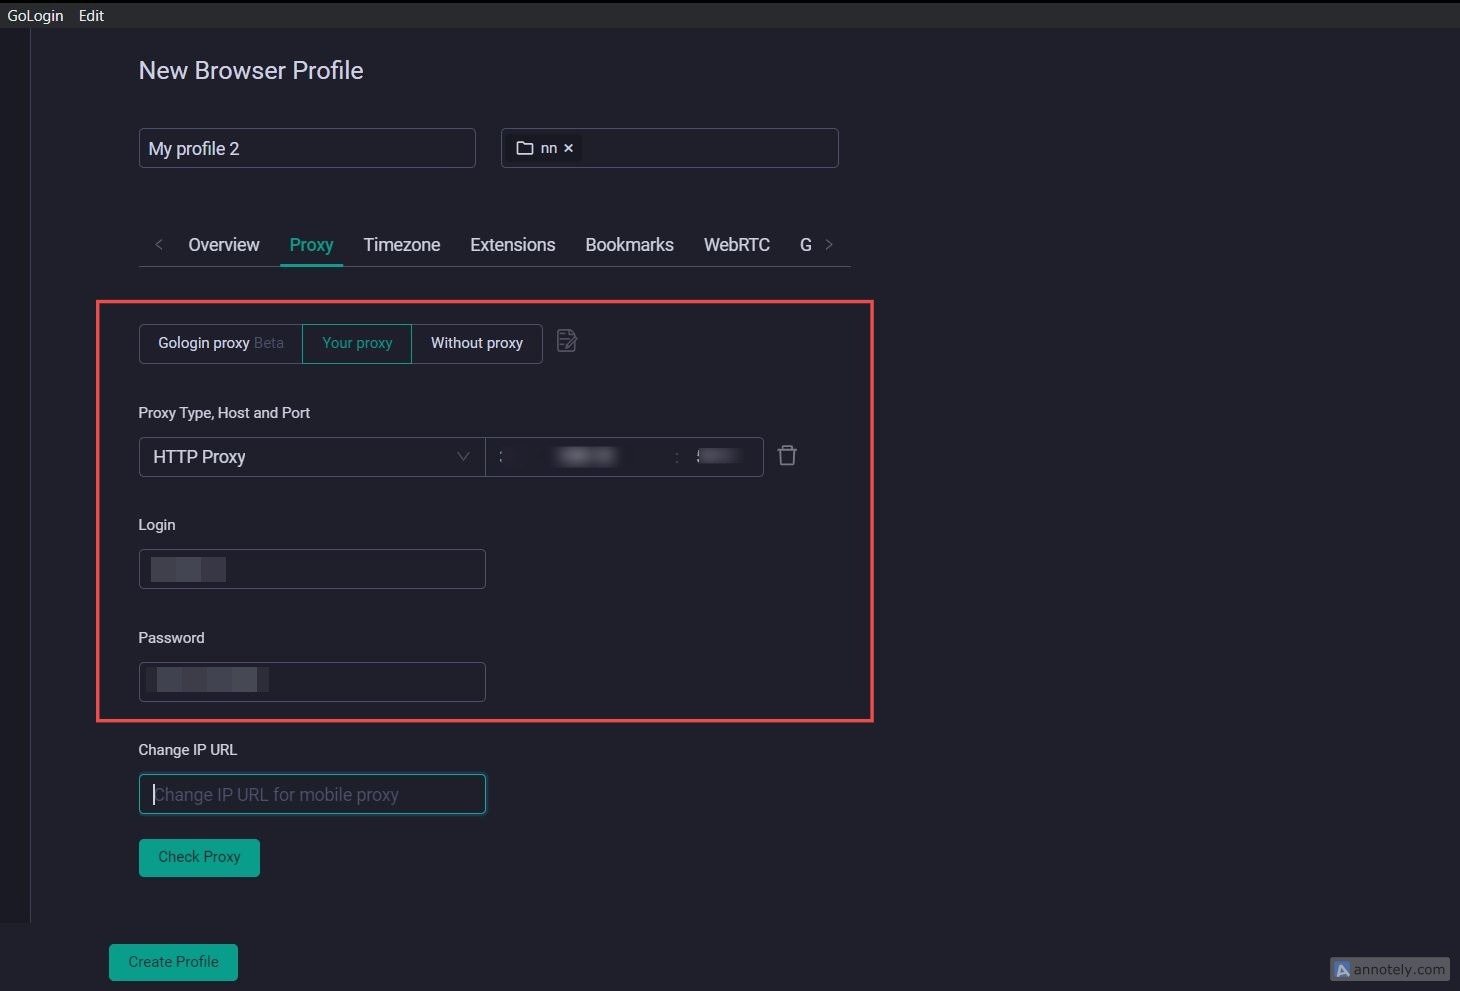
GoLogin allows users to set up their profiles with or without proxies. To install a proxy on your account, click Proxy and select Your Proxy. Select your preferred proxy type, and obtain all necessary information from your account’s proxy list page.
Depending on the purpose of the account profile, your proxies can be set up as static or rotating IP address proxies.
Static IP address configuration
Setting static IP address proxies for your account profiles is suitable for most websites unless the website bans the IP address proxy chosen. In this case, a rotating IP address would be more beneficial. Static proxies are typically in the format:
Proxy Type: HTTP or Socks5
IP Address: 123.189
Proxy Username: prxygol
To set a static IP address proxy
- Go to your proxy provider to access the list of available proxies.
- Copy the given proxy details into the GoLogin software.
- Check the proxy details, then create your profile.
Rotating IP address configuration
GoLogin also supports rotating IP address proxies. Rotating proxies typically have the same setup as static IP addresses. However, for rotating proxies, you need a Change IP URL. The Change IP URL is obtained from your proxy provider’s rotating proxy page.
Copy and paste the Change IP URL into the indicated box in GoLogin. The setup should look like this now:

Alt Text: Customizing a rotating IP address proxy
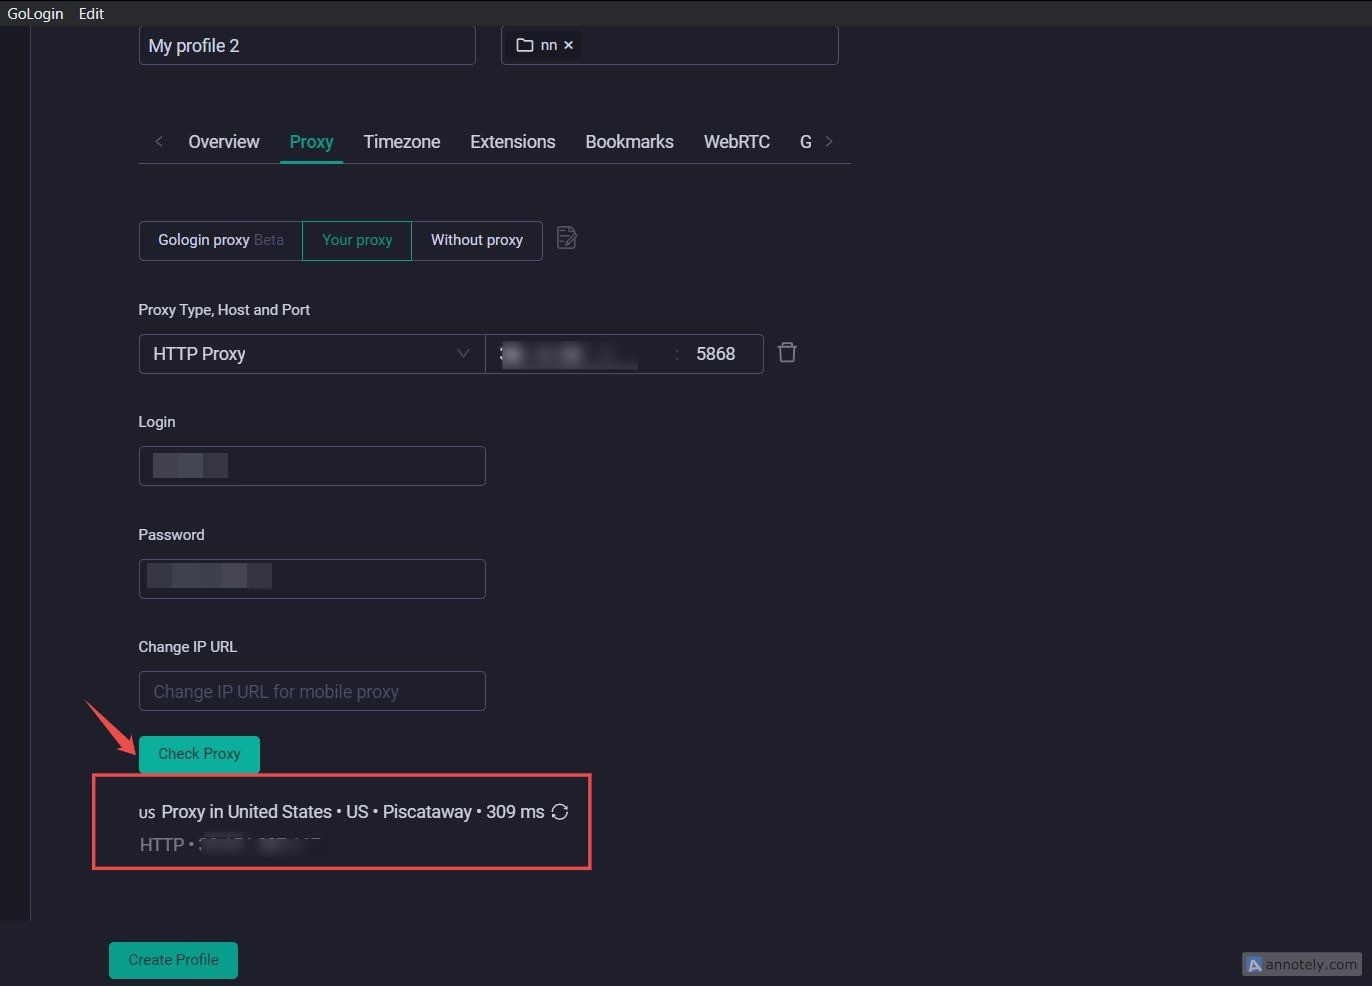
6. Check Proxy
After choosing your appropriate proxy—which could be either static or rotating, fill in the details in the appropriate fields and click on the Check Proxy button. If your selected proxies work, you’ll see a changed IP address, geolocation, and proxy protocol.
Adjust other browser fingerprint settings using options like Overview, Timezone, Bookmarks, Geolocation, Cookies, and Advanced settings.
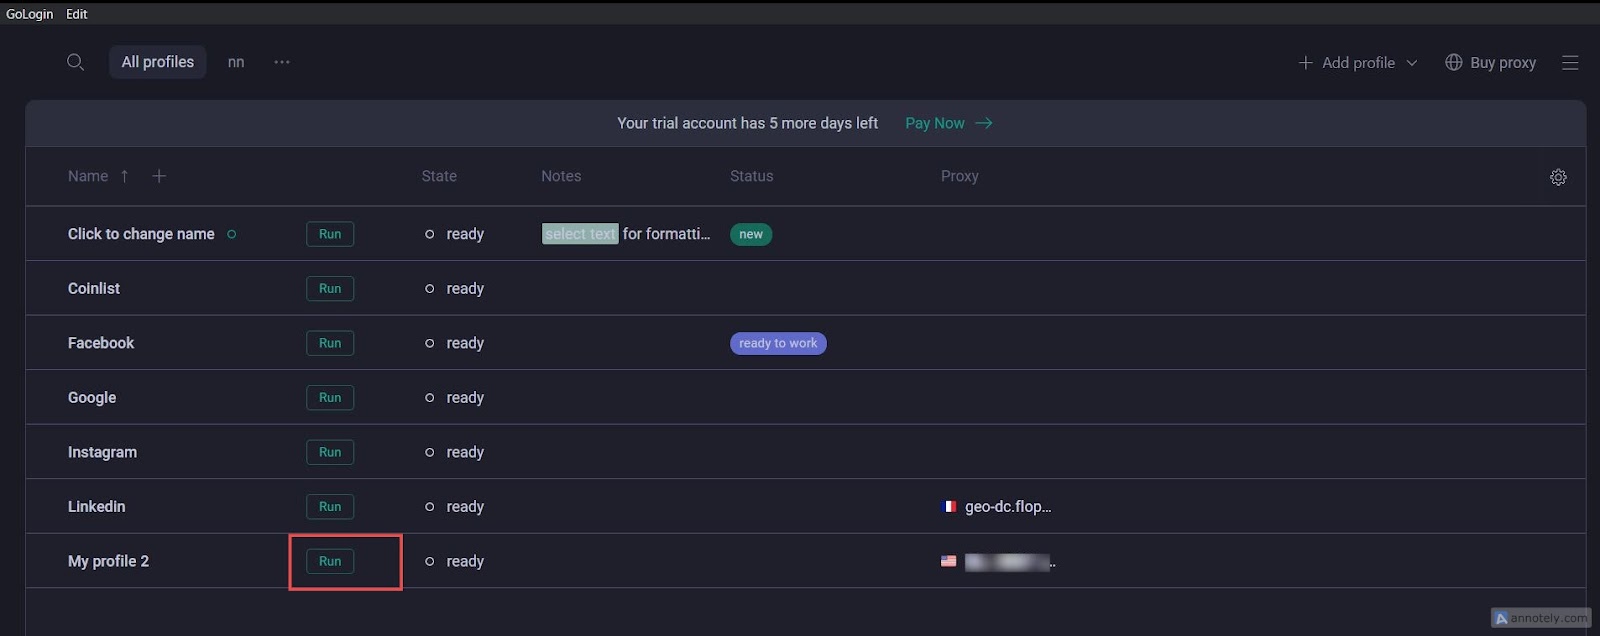
7. Create Profile
Once other options have been adjusted, click on Create Profile, and then click Run.
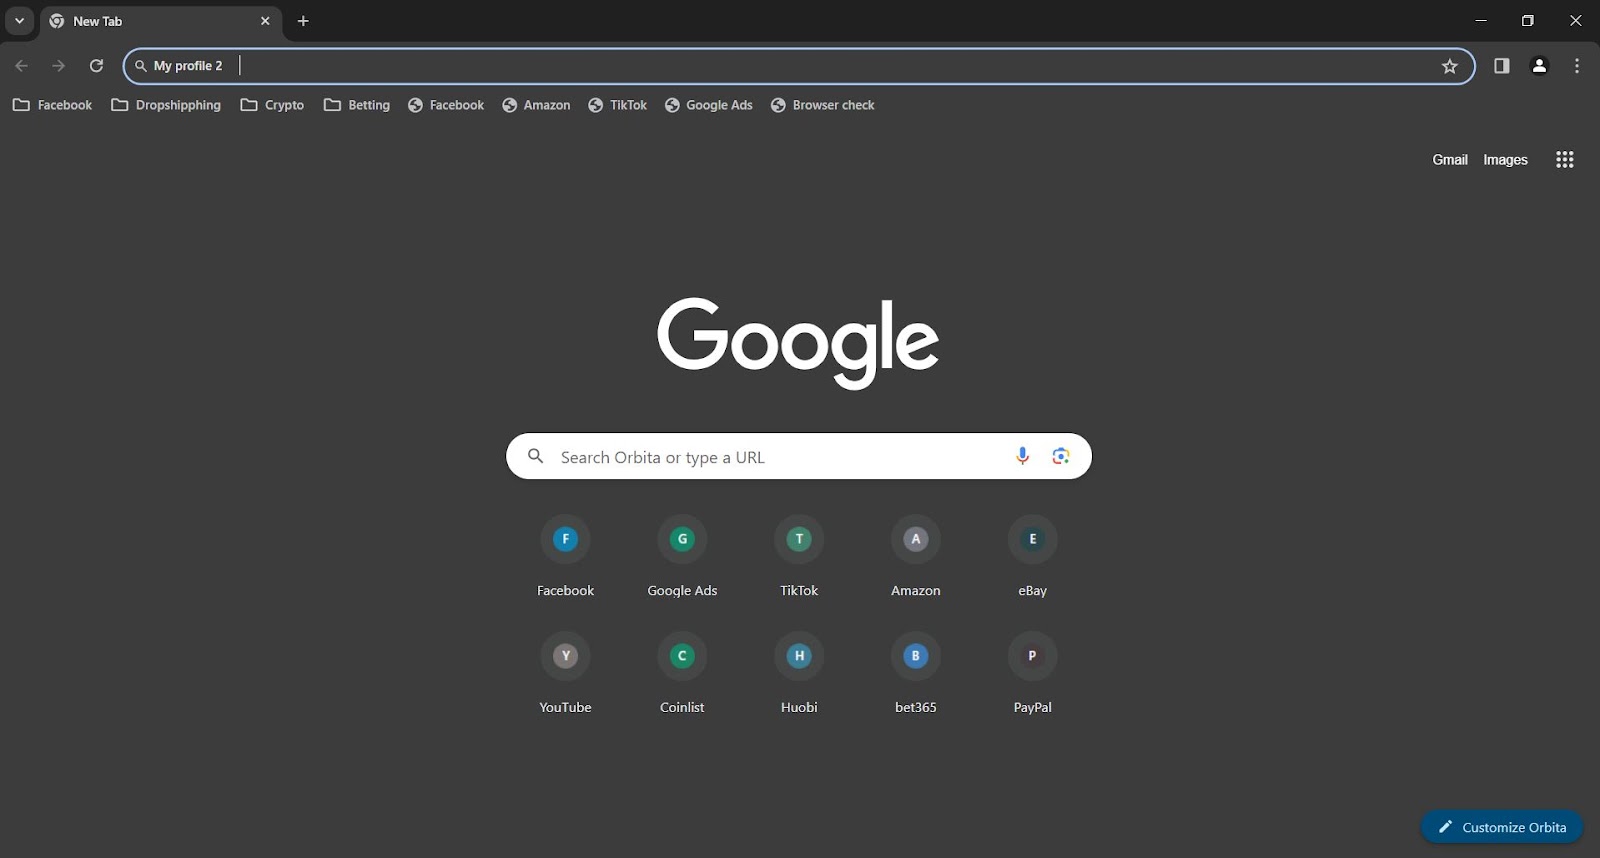
8. Start Browsing
Once your proxy details are set up, you can start browsing using the GoLogin software. This keeps you safe and allows you to browse undetected.
There you have it! That’s all you need to know about setting up proxies with GoLogin. Remember, Webshare currently offers ten free proxies without requiring a credit card. You can use this to test out more features of the GoLogin software while the offer lasts.


