


Privacy and security are essential, especially when browsing on mobile devices like Android smartphones. Using a proxy server is a practical solution to access content that is blocked or to protect your data. Proxies mask your IP address and reroute your internet traffic. This allows you to surf the web anonymously, bypass geo-blocks, and protect your data from malicious entities. This article provides a detailed guide to the best free proxy server options for Android. We’ll share with you some free and reliable proxy servers which we will help set up with your Android device.
How to get a free proxy list for Android?
Instructions to get a free proxy list for Android are very simple:
- Create an account on Webshare.
- Navigate to your proxy list.
- Voila! You will get a proxy list with 10 free proxies assigned to you.
Feel free to uprade your proxy plan whenever you want to get more proxies.
How to set up and use a free proxy on Android?
To configure a proxy server on your Android device, comply with the instructions provided below.
Before Starting
Before we set up a proxy server on your Android device, we must first obtain some proxies. You can use a proxy from the free proxy server list we have provided above or you can simply get some for free for registering with Webshare. Webshare will give you 10 free proxies as soon as you’re registered and they don’t even request your credit card information. You simply have to go to the Webshare site and sign up for an account.
Access Wi-Fi Settings
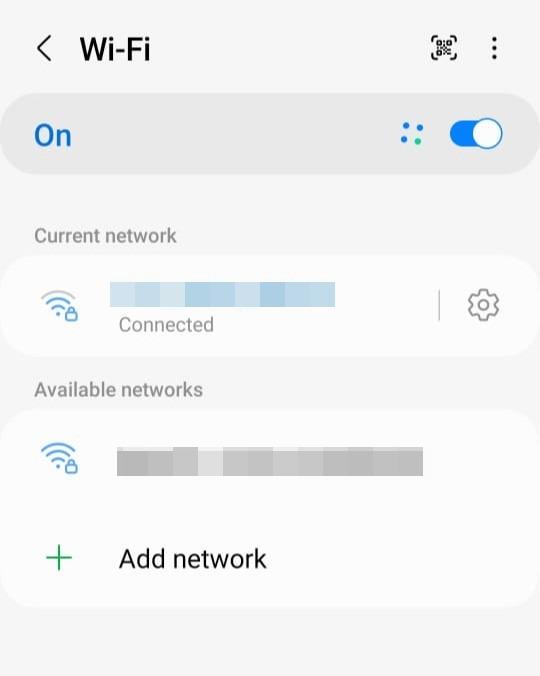
Go to your settings first. Keep in mind that because different device makers use different skins, your interface may change from ours. But worry not, android devices have a similar configuration. To use the proxy, select the Wi-Fi tab and establish a connection with the desired Wi-Fi network. After connecting, select the WiFi name by tapping on it. Tap the settings icon next to the Wi-Fi name on certain other phone types.
Configure Proxy Settings
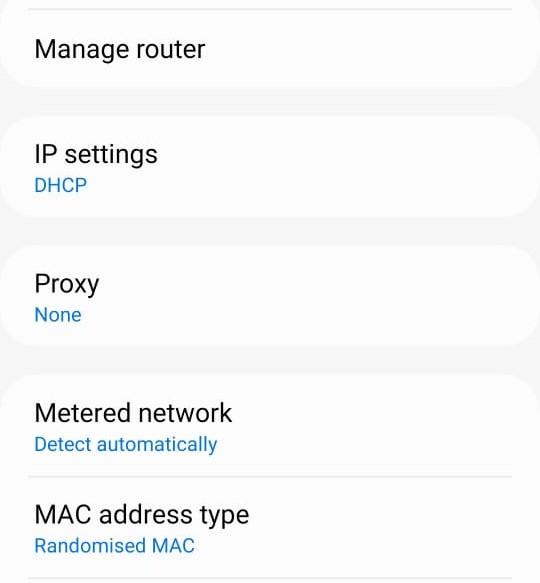
You now need to keep scrolling down until you find the option for "Advanced Settings." You will see an option called Proxy. Once clicked, you will be presented with 3 options.
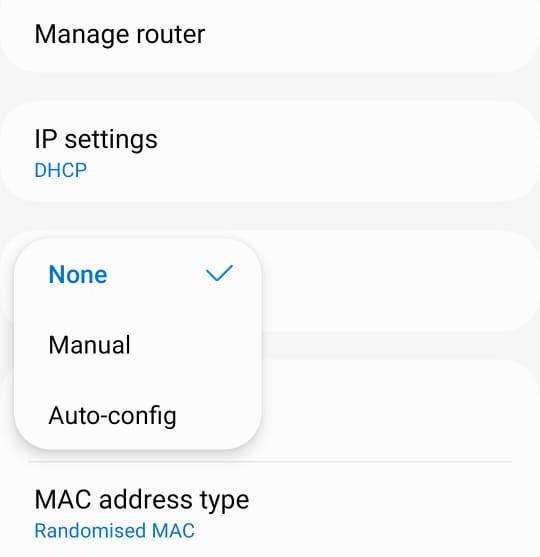
Go with the manual option. You will be prompted to enter your proxy server's proxy port and hostname after choosing manual. You can either choose from the free servers we have provided or the ones you received for free from Webshare. If you want to use the free proxies, you can just get the details from the table we have provided above. However, if you choose to use Webshare’s proxies, you can obtain the information from Webshare's proxy list. You can pick from ten different proxies. Select a proxy based on the region and the location. Lastly, use the selected proxy's details to complete the form. We can easily copy this information from Webshare because all you have to do is click on it.
Eg: Name: proxy1, IP: 49.123.241.122, Port:4220
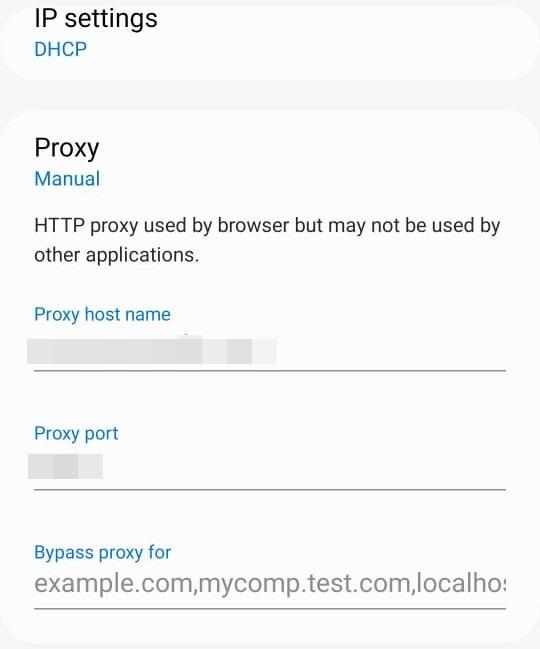
You may be able to bypass proxies for one or more websites of your choosing on certain devices. By choosing this option, you can view these websites and connect to the internet directly without using the proxy server. This feature can be useful when visiting reliable websites where using a proxy could lead to unneeded complexity or performance problems.
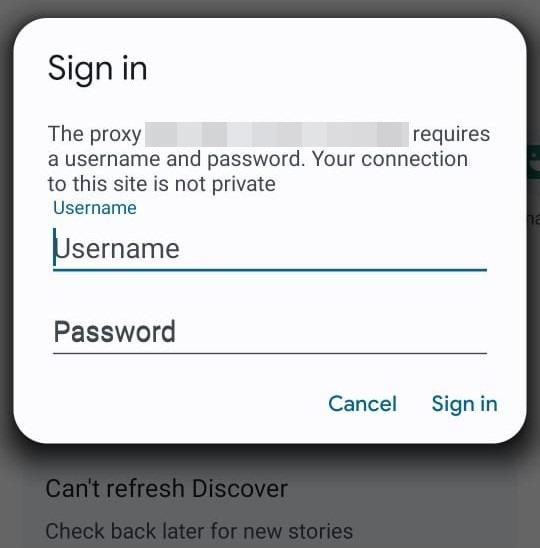
Authentication Methods
Since the public proxy servers don’t come with usernames and passwords, you don’t have to worry about authentication methods. However, if you are using a private server from a service like Webshare, you can select an authentication method on Webshare's proxy list page. "Username/Password" and "IP Authentication" are the two choices. To continue surfing the web while using the login/Password option, you must input your proxy's login and password into your browser.
Eg: Username:username, password:password
You can enable whitelisted access for your Android device by choosing IP Authentication and providing its IP address. You can then stop entering your password and username in the browser, therefore saving time.

Method 2: Proxy for all phone network traffic, including other apps
In the first method, we only configured a proxy for browser traffic, and it only worked inside your web browser. But what if you want every app on your phone, like social media, email, or even games, to use the proxy? That’s where this method is useful.
We’ll be using Super Proxy for the demonstration. Super Proxy is a reliable application that tunnels all your apps through an HTTP or SOCKS5 proxy server, without needing root access.
Technically, it works by creating a local VPN service on your Android device and routing all network traffic through the proxy server. This makes it especially useful if you want full privacy, bypass network restrictions at school or work, or want all apps to use the same proxy settings.
Follow the steps below to set it up.
1. Install Super Proxy
Open the Google Play Store on your device. In the search bar, type Super Proxy, and once it appears, tap Install.
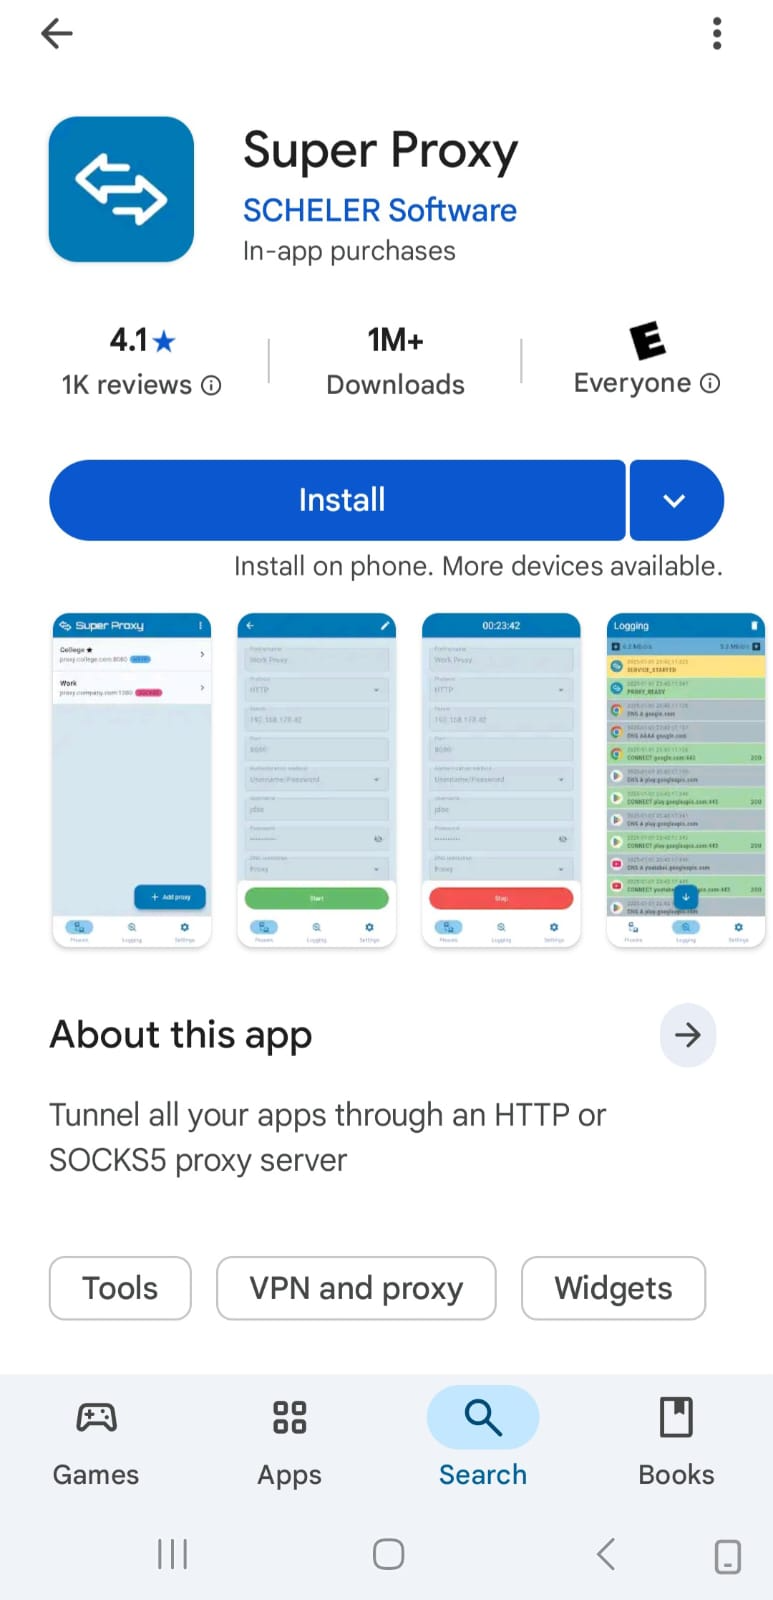
After installation is complete, tap Open to launch the application.
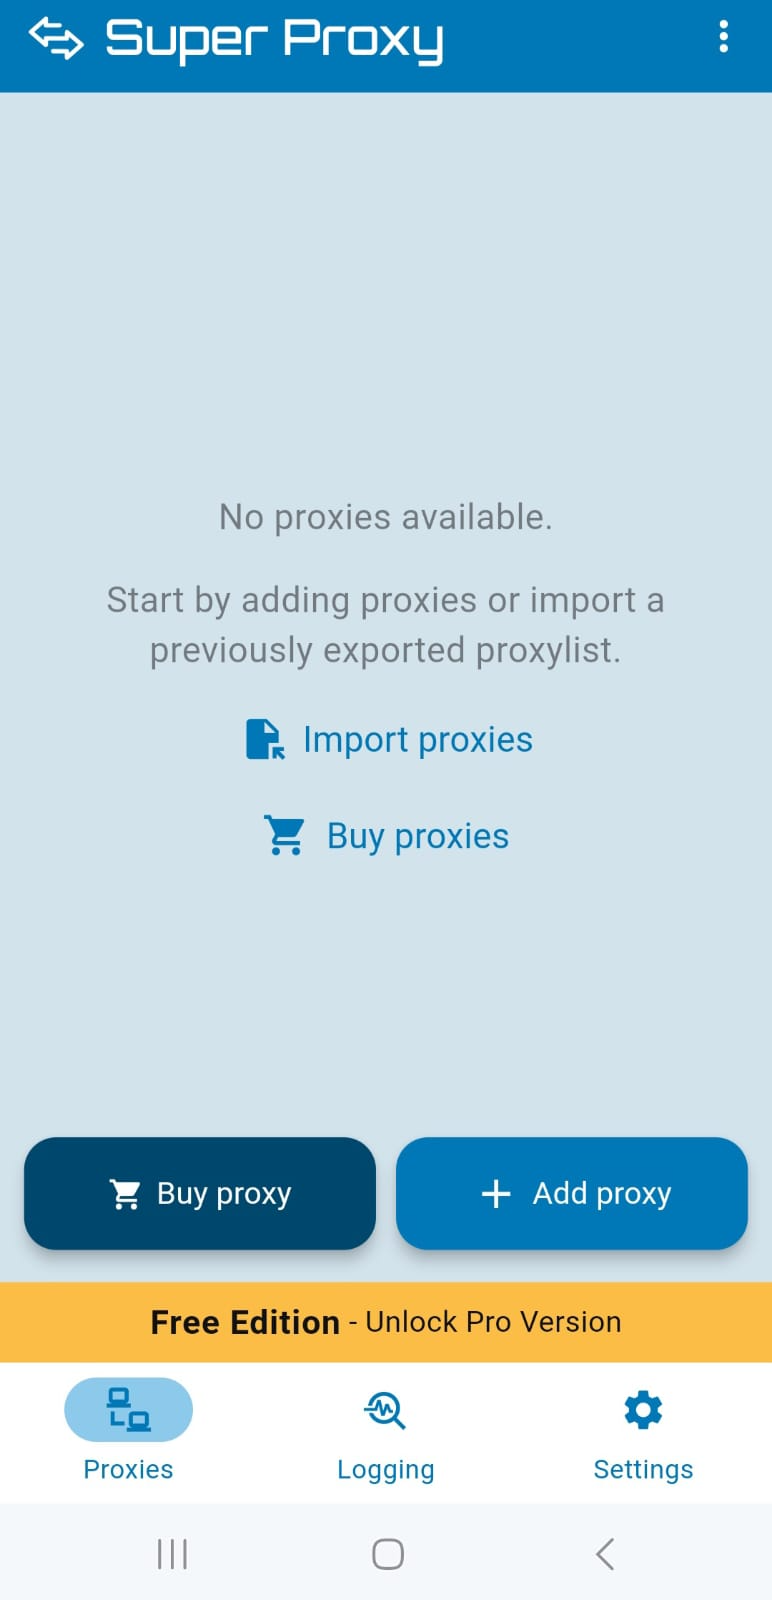
2. Add a new proxy
On the app’s home page, you’ll see options to Add proxy or Import proxies. Tap on Add proxy to add a new proxy manually.
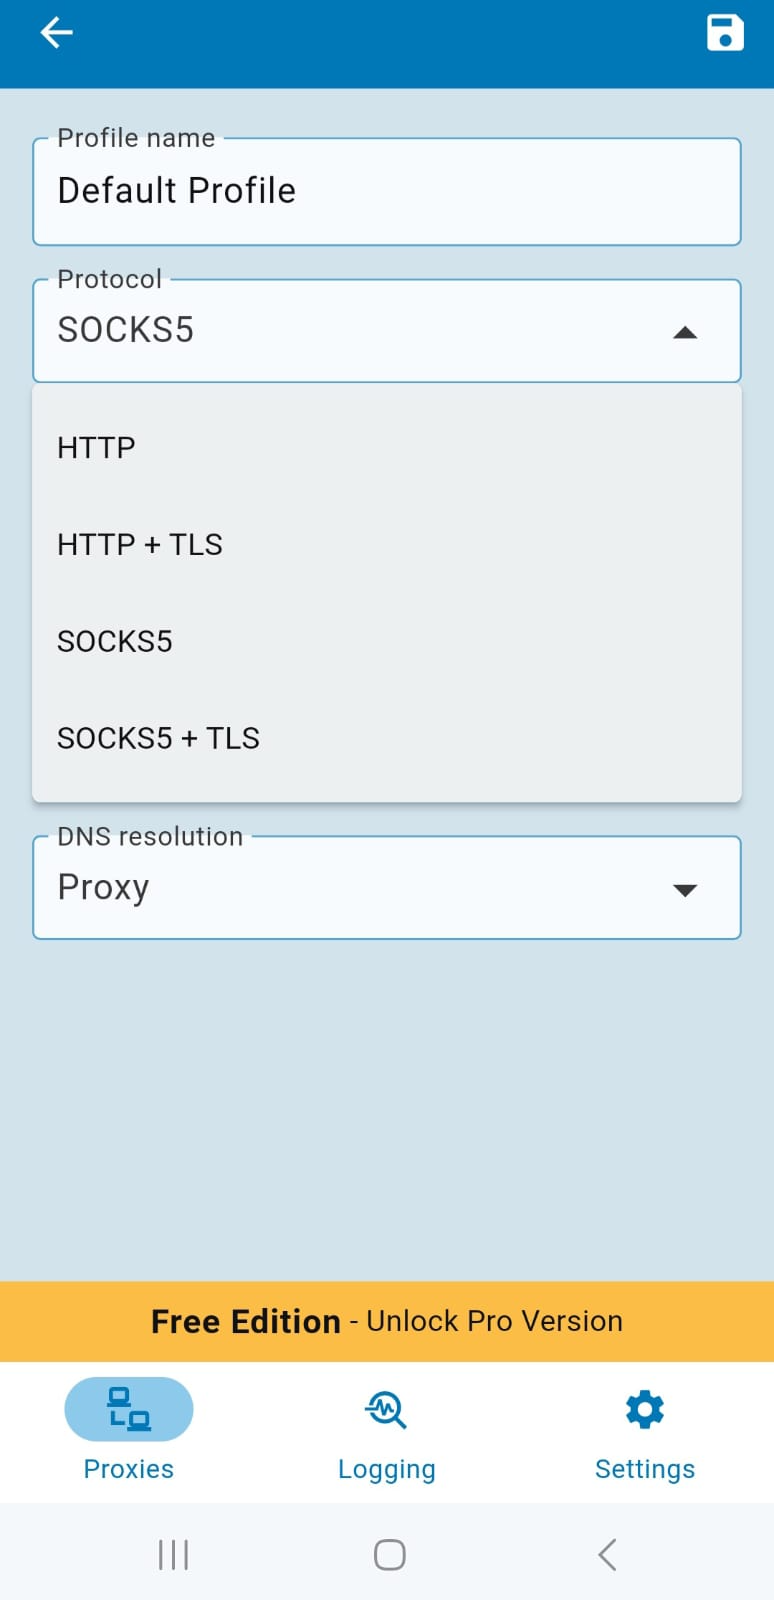
3.Configure basic settings
You will see a screen to set up your proxy settings.
Profile name - Enter any name you like (e.g., “Work Proxy” or “Webshare Proxy”).
Protocol - Choose between different proxy types. Options include:
- HTTP / HTTP + TLS - for standard web proxies.
- SOCKS5 / SOCKS5 + TLS - for more secure, flexible connections.
- Select the protocol based on the proxy details provided by your provider (for example, Webshare).
Server - Fill in the Server field with the proxy IP address.
Port - Enter the Port number as provided by your proxy provider.
Authentication method - Choose the correct authentication type for your proxy:
- None - if your proxy is IP authenticated.
- Username/Password - if your proxy requires login details. Enter the username and password given by your proxy provider (Eg, Webshare).

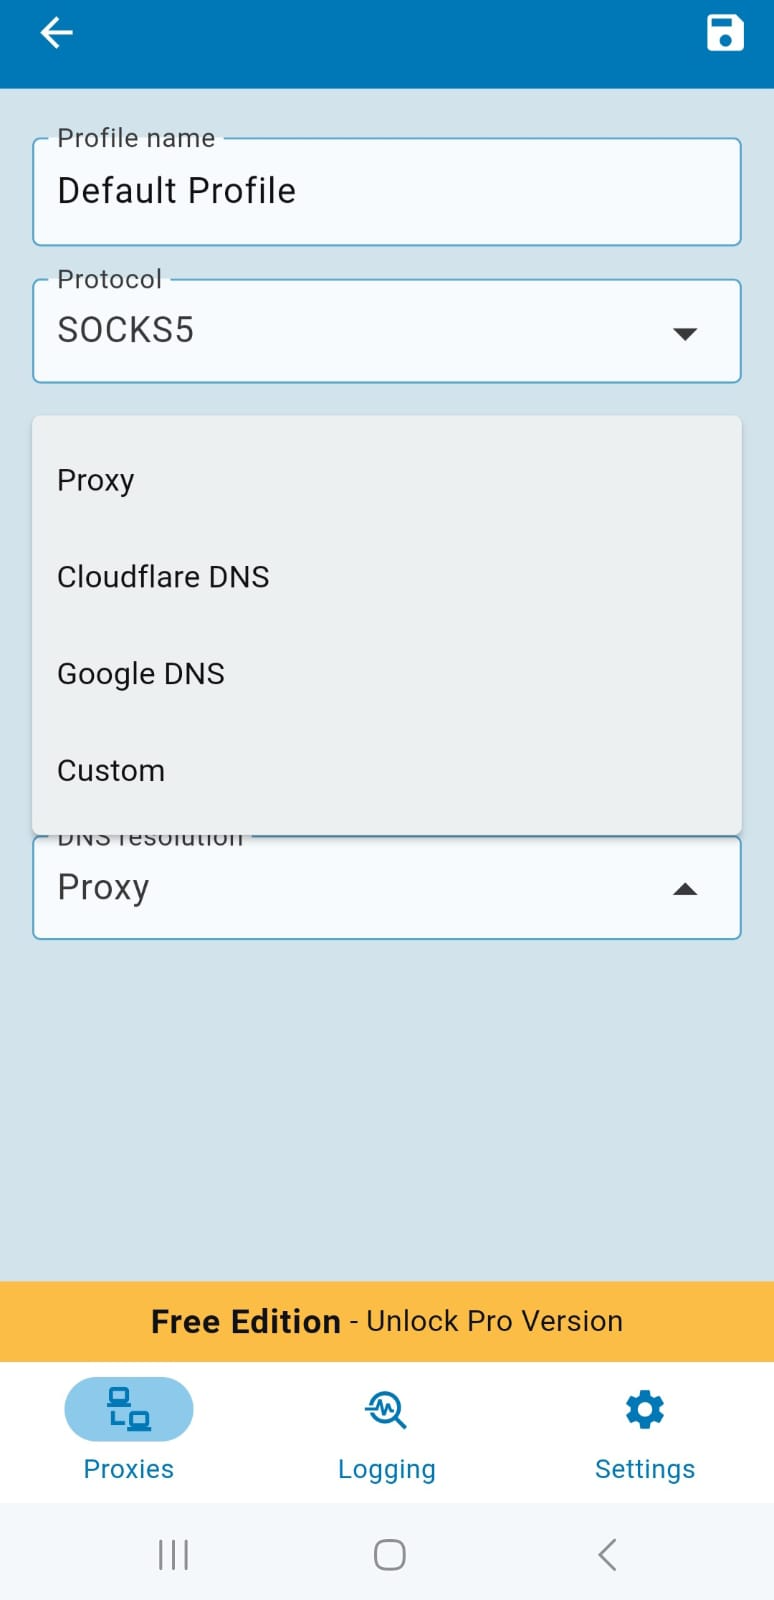
DNS resolution - Super Proxy also helps you to control DNS resolution. You can select:
- Proxy - resolve DNS requests through the proxy itself.
- Cloudflare DNS or Google DNS - for trusted external resolvers.
- Custom - if you want to set your own DNS server.
For most cases, leaving it as Proxy is recommended for privacy.
Once all details are entered, tap the Save icon at the top of the header bar.
Start Browsing
After completing the aforementioned procedures, all you need to do is open your device's default web browser. This is due to the proxy server working solely on the default web browser.
You can now spend as much time as you like comfortably browsing the internet. We've taken care of your worries about malware and virus infections, as well as data loss.
You may view your IP details on a website like IPinfo, which you can use to determine whether traffic is being routed through a proxy server. You have established a successful connection to the proxy server if it displays the proxy's IP information. There has been an issue if it displays the IP address of your computer. If so, go back and follow the instructions in the article to ensure that the IP information you entered is correct.
Conclusion
This concludes our tutorial on setting up free proxies on Android. If you've read the post all the way through, you should be able to use one of the free proxy servers we have provided in the article to set up a proxy server on your Android smartphone and browse effectively and safely.
We'll give you one final piece of free advice. Obtain 10 free proxies by creating an account on Webshare without using a credit card. Getting your hands on these proxies will be well worth the effort. Decide wisely and don't let this fantastic opportunity pass you by.


