


If you use DICloak, then setting up proxies is something you really need. Proxies help you stay safe and make your accounts look like they are coming from different IP addresses. This is useful when you manage many accounts or want to avoid getting banned. You also need proxies for activities like ads, scraping, and switching between accounts.
Many users know they need proxies but don’t know how to set them up in DICloak. The process can be confusing, especially with different proxy types and input formats. That’s why some people feel stuck or make mistakes.
In this article, we will show you how to set up one proxy or many proxies step by step. We’ll also tell you where you can get free proxies to start with.
What is DICloak?
DICloak is an anti-detect browser for people who work with many online accounts. It is used for e-commerce, social media, affiliate marketing, online ads, airdrops, and automation. You can manage multiple Amazon, eBay, or Shopee stores without getting banned. It supports social media platforms like Facebook, Twitter, and TikTok for posting, ads, and engagement.
With DICloak, you can create separate browser profiles. Each one looks like a real user to websites. This helps you stay safe and avoid detection. It works with proxies like HTTP, HTTPS, Socks5, and IPFly.
DICloak also gives you full control over what team members can do. You can block them from viewing saved passwords or cookies. It prevents them from installing extensions, using developer tools, or opening blacklisted websites. You can even set accounts to deactivate automatically when they are created. These features help protect your work and keep your team's actions safe.
Moreover, many people use DICloak to share access to Canva, ChatGPT, Midjourney, and Semrush accounts. It's also great for web scraping and RPA automation. Users say it saves time, reduces bans, and helps manage work better. If you handle many accounts, DICloak is a simple and must-try tool.
Before starting
Before we begin the DICloak setup, it’s important to have some proxies ready to go. These proxies will be essential when configuring browser profiles later in the tutorial. Webshare provides beginners with 10 premium proxies at no cost. All you need to do is just create an account with Websahre.
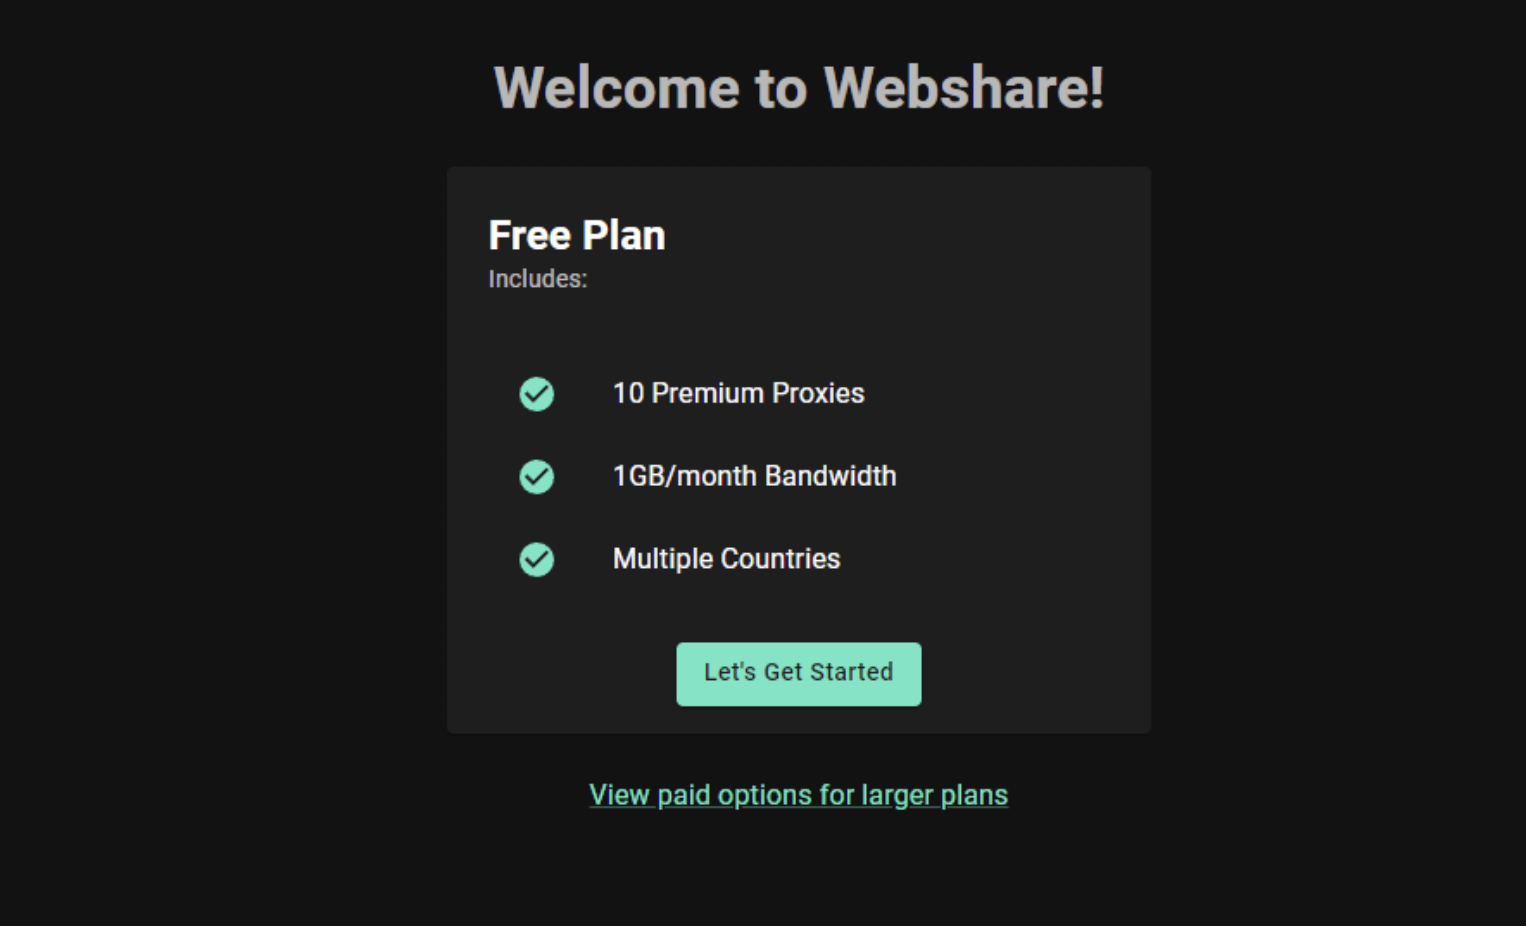
To get started, simply visit the Webshare website and create a free account. After signing in, you should find the “Proxy List” section on your dashboard. On this page, users can access their 10 free proxies with 1GB of monthly bandwidth. This allows them to choose servers from multiple countries. The proxy listing page provides all the necessary information, including the IP address, port number, and username and password details.
Beginners can comfortably use the free plan because it provides adequate resources for basic operations. Webshare provides different affordable payment options for clients who need better bandwidth or additional locations, or improved performance, along with several upgrade choices at any time.
How to set up a single proxy in DICloak?
Setting up a proxy in DICloak is simple. Just follow these steps to set up a single proxy and start browsing securely.
Step 1: Download and Install DICloak
Navigate to the DICloak website.

Download the DICloak browser for your operating system, either Windows or macOS.

Select the downloaded installer, double-click it, choose your preferred destination path, and then click the 'Install' button.

Step 2: Sign in or create a new account
After installation, DICloak will direct you to the Login page. There, enter the required details, such as your email/ username and password, and click on the "Sign in now" button to complete the login.

When you use DICloak for the first time, you need to create an account. Enter your email, set a secure password, and click “Sign up now” to complete the registration.

Once logged in, you’ll be taken to the main dashboard, where you can manage browser profiles, proxies, and more.

Step 3: Access proxy settings
Open the “Proxies” section on the left-hand navigation panel to configure your proxy settings. Then click the “+ Create Proxy” button to open the proxy input window.

This is where you’ll enter your proxy information. Make sure you have your proxy credentials (IP, port, username, and password) ready from your proxy provider (e.g., Webshare).

Step 4: Enter proxy details and confirm
In the proxy setup window, fill in the required fields.
- Quick input: (Optional) Enter in the correct format of URL (e.g., http://1xx.1xx.0.1:8000:Username:Password)
- Proxy Type: Choose the correct protocol (HTTP, HTTPS, or SOCKS5)
- Host: Enter the IP address or domain of your proxy
- Port: Input the proxy port number
- Proxy account: If your proxy requires a login, add your username here
- Proxy Password: Enter the password for authentication
- IP lookup channel: Select the IP channel (IP-API or IP2Location)
Once completed, click the “Checking Proxy” button to verify your connection. If successful, you’ll see a status of confirmation.

Click the “Confirm” button to save the proxy.
Now that your proxy is saved, you can assign it to a browser profile. To do that, follow the steps below.
- Navigate to the Profiles tab.
- Click the “+ Create Profile” button.

- Under the Proxy section, choose “Saved Proxies” and select the one you just added.
- Finish any other settings and click the “Confirm” button.

How to set up batch proxies in DICloak?
Setting up batch proxies in DICloak helps you to import and manage multiple proxies at once. Follow these steps to configure batch proxies quickly and efficiently.
Step 1: Access batch proxy settings
Start by opening the DICloak app and logging into your account.
From the left-hand sidebar, go to the “Proxies” section.
At the top of the proxy dashboard, click the “Batch Import” button (this may also appear as a small upload icon, depending on your version).

This will open a new window where you can upload a file of multiple proxies at once. (Files must be in xls/xlsx format only)

Step 2: Enter proxy details in batch
DICloak accepts proxies in the following format:
Proxy Type: Proxy Host: Proxy Port: Proxy Username: Proxy Password
You can convert multiple proxies by downloading a .txt file from Webshare and converting it to an .xlsx file, with each proxy on a new line.
123.45.67.89:8080:user1:pass1
Make sure all your proxies are formatted correctly, depending on whether they require authentication. (Use a text editor to prepare your list and double-check the formatting before pasting.)
DICloak provides a ready-made template you can download and follow. This template helps you enter proxy details correctly and avoid errors. Make sure not to delete or change the column headers in the file. Only fill in the fields you need. Leave the rest blank. The required fields are Proxy Type, Host, and Port. Username, Password, and Remarks are optional.
Note: This file only uploads the proxy data to the Proxy Management list. It does not test if the proxy is working. You will need to check that separately when using the proxies in profiles.
Step 3: Confirm and review proxies
Once you’ve imported your proxy list, DICloak will automatically check each proxy and indicate whether it is working. You will see a "Success" or "Failed" status for each proxy.
If uploaded successfully, it will be displayed like this.

If the proxies fail to import, DICloak will show the cause of the error. You can check the reason, fix the format or file type, and try uploading again.

When you have successfully uploaded the batch proxy file, click the “Close” button.

These proxies are now available for use and can be easily assigned to browser profiles via the Profiles → Create Profile → Proxy → Saved Proxies option.

Here, you can select a proxy and confirm it. If it was successfully imported, you can assign it to different browser profiles as needed.


