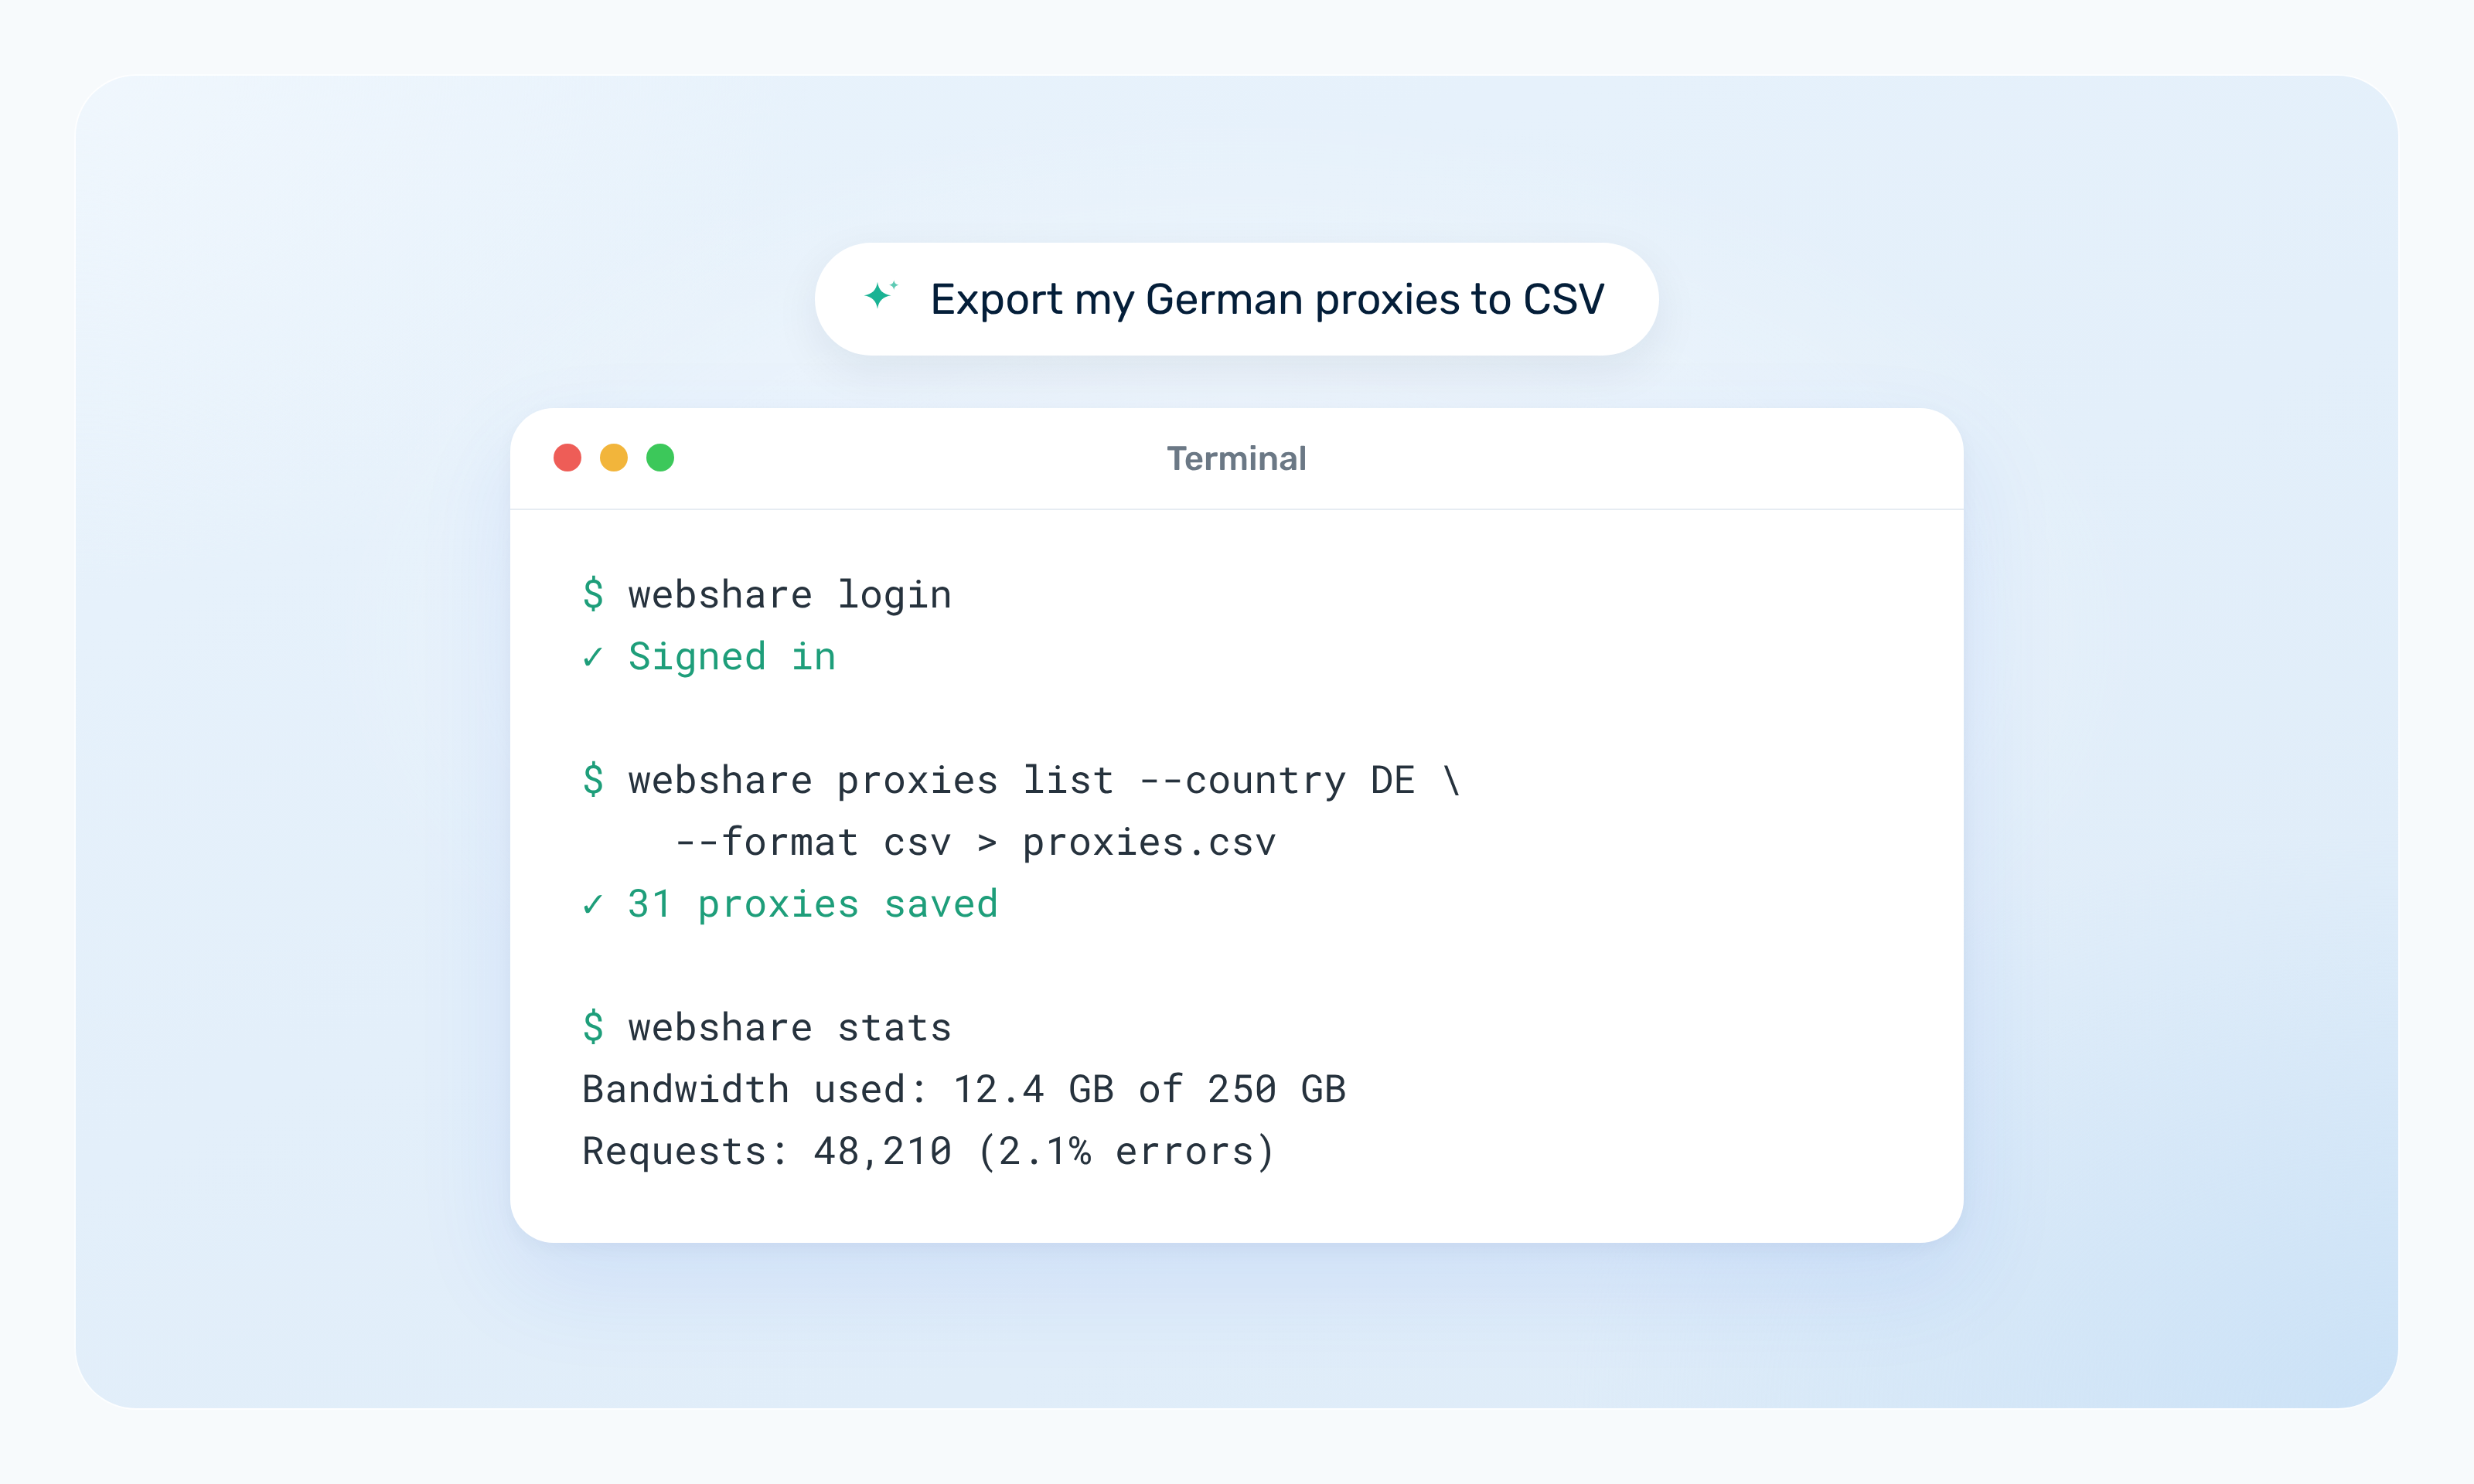
If you already use scripts, cron jobs, or CI for your proxy workflow, switching to the Webshare dashboard could slow you down. Instead, you can include the Webshare CLI in your workflow and use it to run supported Webshare proxy-management actions directly from the terminal.
This guide shows you how to manage proxies from the terminal, from installing and authenticating the CLI to listing and exporting your proxies, checking your usage, refreshing your proxy list, and using the CLI in cron jobs and CI.
TL;DR
- The Webshare CLI lets you manage supported Webshare proxy tasks from the terminal.
- You can list proxies, export your proxy list to a file, check usage, and refresh your proxy list from the terminal.
- The
webshare proxies refreshcommand replaces the full proxy list. For targeted proxy replacement, use the Webshare MCP Server, SDK, or API. - The CLI fits shell scripts, cron jobs, and CI pipelines, where opening the dashboard isn't practical.
- Keep credentials in environment variables or your CI provider's secret storage, and keep them out of your repository.
- Use the SDK for application code and the MCP Server for AI-assisted management.
Install the Webshare CLI
The Webshare CLI is the official command-line interface for the Webshare proxy API. You can install it with Homebrew, a prebuilt binary, or Go.
Homebrew on macOS
On macOS, install the CLI from Webshare's Homebrew tap with one command.
brew install webshare-proxy/tap/websharePrebuilt binaries
If you don't want to use Homebrew or Go, download a prebuilt binary from the releases page. Binaries are available for Linux, macOS, and Windows on both amd64 and arm64. Each release also includes a checksums.txt file you can use to verify your download.
To install the Linux amd64 build, download the archive, extract it, and move the binary onto your PATH.
curl -fsSLO https://github.com/webshare-proxy/webshare-cli/releases/latest/download/webshare_linux_amd64.tar.gz
tar -xzf webshare_linux_amd64.tar.gz
sudo mv webshare /usr/local/bin/
For other platforms, swap in the matching archive from the releases page, such as webshare_darwin_arm64.tar.gz for an Apple Silicon Mac, or the .zip archives if you're on Windows.
Go
If you have Go 1.23 or newer, you can build the CLI from source with go install. Go installs the binary as webshare-cli and places it in $(go env GOPATH)/bin by default, so you'll want to rename it to webshare to match the commands in this guide.
go install github.com/webshare-proxy/webshare-cli@latest
mv "$(go env GOPATH)/bin/webshare-cli" "$(go env GOPATH)/bin/webshare"
Authenticate With Webshare
You can sign in in two ways:
- By using a browser login on your own machine
- Via an API key anywhere a browser isn't available
On your laptop
To sign in, run webshare login, then check which account you're connected to with webshare whoami.
webshare login
webshare whoami
The login command opens the Webshare consent screen in your browser and asks for the access the CLI's commands need. Once you approve, the CLI stores the token in your operating system's keychain, or in a file only you can read if there's no keychain. The token refreshes on its own, so you won't need to sign in again every session.
On servers and in automated environments
webshare login needs a browser on the same machine, so it won't work over SSH, inside a container, or on a CI runner.
In those environments, authenticate with an API key through the WEBSHARE_API_KEY environment variable. You can create a key on the API Keys page of your Webshare dashboard.
Once the variable is exported, any CLI command will pick it up. If you've also signed in with webshare login on the same machine, the API key takes precedence.
export WEBSHARE_API_KEY="your-api-key"
webshare whoami
Treat that key like a password. Keep it in an environment variable, a secrets manager, or your CI provider's secret storage, and never write it into your repository or your scripts. Your scripts can then call the CLI without the key ever showing up in source control.
How output changes in pipes
The CLI adjusts its output to where it's going. In an interactive terminal, you get a formatted table.
When you pipe or redirect the output, you get plain text with no headers or colors, ready for the next tool in the chain. If that tool needs structured data, add --format csv for CSV or --json for JSON.
List Your Webshare Proxies
You can see the proxies on your plan by running the webshare proxies list command, which outputs the data as a table.
By default, the command returns your first 100 proxies, which is usually enough for a quick check.
To see specific fields for each proxy, you can ask for JSON and filter it with jq, a command-line tool for reading and filtering JSON. You'll need to install it separately if you don't have it already.
webshare proxies list --json | jq '.[] | {proxy_address, port, country_code, city_name, valid}'Each proxy comes back as its own object, with its address, port, and location.
{
  "proxy_address": "1.2.3.4",
  "port": 8168,
  "country_code": "US",
  "city_name": "New York",
  "valid": true
}
The valid field tells you whether the proxy passed Webshare's most recent check.
Export Your Proxy List to a File
When you redirect webshare proxies list to a file, the CLI writes one proxy per line in the address:port:username:password format. Most tools that accept a proxy list can read that format as it is.
The command below saves your full list to a proxies.txt file.
webshare proxies list --limit 0 > proxies.txtDon't skip the --limit 0 flag. Without it, the command returns only your first 100 proxies, so if your plan has more, the file will be missing the rest. Add it every time you export your proxy list.
If a tool expects structured data, you can export proxy list files as CSV instead by running the command below.
webshare proxies list --format csv --limit 0 > proxies.csvThe file contains your proxy usernames and passwords, so keep it out of version control. Adding it to .gitignore is the easiest way.
How to use the exported file
Once your list is in a file, the rest of your workflow can read from it without calling Webshare again.
- Scripts can loop over the file and pick a proxy for each request.
- Scheduled jobs can re-export the list before each run, so they always start with your current proxies.
- Application configuration can point to the file path, which lets you update proxies without changing code.
- Batch processes can split the file across workers, so each worker gets its own set of proxies.
For example, the shell loop below reads the first five proxies from the file and sends one request through each.
head -n 5 proxies.txt | while IFS=: read -r host port user pass; do
  curl -s --proxy "http://$user:$pass@$host:$port" https://ipv4.webshare.io/
  echo
done
Check Proxy Usage From the Terminal
You can check your bandwidth and request numbers with webshare stats. By default, it covers the last 24 hours. Use --since to change the window, for example --since 7d, and add --hourly if you want the same numbers broken down hour by hour.
If you also need account details, webshare whoami shows your account, subscription, and active plan.
For scripts, add --json to get the usage as data. The output includes bandwidth_total, which is the bandwidth you've used in bytes, plus requests_total, requests_successful, and requests_failed.
Compare usage against a threshold
The CLI reports usage but doesn't decide when it's too high, so you set that limit in your own script. This one reads bandwidth_total for the last 24 hours with jq (the same tool from the "List your Webshare proxies" section), converts bytes to GB, prints the result, and exits with an error once usage passes your daily limit. If you change the --since window, set the limit for that window.
#!/usr/bin/env bash
set -euo pipefail

THRESHOLD_GB=20

bytes=$(webshare stats --since 24h --json | jq '.bandwidth_total')
used_gb=$(( bytes / 1000000000 ))

echo "Bandwidth used in the last 24 hours: ${used_gb} GB"

if [ "$used_gb" -ge "$THRESHOLD_GB" ]; then
  echo "Bandwidth is above ${THRESHOLD_GB} GB" >&2
  exit 3
fi
Every command returns an exit code when it finishes. 0 means success, and any other number signals a problem, which is how cron and CI decide whether a step failed. The script uses exit code 3 because the CLI already uses 1 for API or network errors and 2 for usage errors. A cron job or CI step can then tell a real failure apart from usage that just needs your attention.
Find failing requests
webshare stats also lists each error reason it saw in the window, with a short hint on how to fix it. To see the failed requests themselves, list your recent proxy activity and keep only the errors.
webshare activity list --since 15m --error '*'The --error '*' filter keeps every failed request, whatever the reason, and --since sets how far back to look. Without --since, the command covers the last hour.
Refresh Your Proxy List
The Webshare CLI doesn't support targeted, per-proxy replacement. What it can do is refresh your full proxy list, which swaps every proxy on your plan for a new set.
To start a refresh, run the command below. The CLI asks you to confirm before it goes ahead. In a script or anywhere else without a terminal, it stops with an error instead, unless you pass --yes.
webshare proxies refreshEach refresh uses one on-demand refresh. That's a full-list refresh you trigger yourself, and your plan has a set number available, so the command only works when you have one left. Since the whole list changes, re-export your proxies afterward so your scripts and config files pick up the new set.
To see what changed, you can check your replaced proxies. The command lists each replaced proxy next to the one that took its place, along with the reason it was replaced.
webshare proxies replacedThat list is your plan's full replacement history, so it can also include replacements Webshare made on its own. For a direct before-and-after view of one refresh, save your list on each side of it and compare the two files.
webshare proxies list --limit 0 > before.txt
webshare proxies refresh
webshare proxies list --limit 0 > after.txt
diff before.txt after.txt
The refresh finishes in the background after the command returns, so the list can take a moment to change. If diff shows no differences, wait a little and export after.txt again.
For targeted replacement of individual proxies, use the Webshare MCP Server, SDK, or API instead. The SDK lets you integrate proxy management into application code, and the MCP Server lets you manage proxies through supported AI clients.
Use the Webshare CLI in a Scheduled Job
A scheduled job is where the Webshare CLI helps most, since nobody is around to open the Webshare dashboard when it runs. You can wrap the CLI in a shell script and run it on a schedule with cron, which is available on Linux and macOS.
Before you set up the schedule, sort out authentication. webshare login needs a browser, so a cron job should use your API key through WEBSHARE_API_KEY instead. Cron also doesn't load your shell profile, so the script needs to load the key itself. One way to do that is a webshare.env file containing export WEBSHARE_API_KEY=..., readable only by your user (chmod 600 webshare.env) and kept out of your repository.
Cron also runs with a minimal PATH, usually just /usr/bin and /bin, so it may not find webshare in /usr/local/bin, or in /opt/homebrew/bin on an Apple Silicon Mac. Set PATH at the top of the script, as below, or call the binary by its full path. The same goes for jq if it's installed somewhere else.
The script below exports your full proxy list, runs your job, checks usage, and logs the result. Replace run_job.py with whatever your job runs. If your job runs on a Webshare proxy server plan, it reads the proxy list from proxies.txt.
#!/usr/bin/env bash
set -euo pipefail
export PATH="/usr/local/bin:$PATH"

cd /opt/scraper
source ./webshare.env

webshare proxies list --limit 0 > proxies.txt

python3 run_job.py --proxies proxies.txt

used_gb=$(( $(webshare stats --since 24h --json | jq '.bandwidth_total') / 1000000000 ))
echo "$(date -u +%FT%TZ) run finished, bandwidth used in the last 24 hours: ${used_gb} GB"
To run the script every day at a particular time, say 2 a.m., add this line to your crontab with crontab -e. The five fields at the start set the minute, hour, day of the month, month, and day of the week.
0 2 * * * /opt/scraper/run.sh >> /var/log/scraper.log 2>&1The >> /var/log/scraper.log 2>&1 part appends both the script's output and any CLI errors to one log file, so you can check each run afterward.
If you'd rather have the job fail when bandwidth runs high, swap the last two lines for the script from the "Compare usage against a threshold" step in the "Check proxy usage from the terminal" section.
Don't add webshare proxies refresh to the schedule. Without a terminal it stops with an error unless you pass --yes, and with --yes every run would use one of your plan's on-demand refreshes. Run it by hand when your workflow actually needs a new proxy set, then let the next scheduled run export the new list.
Use the Webshare CLI in CI
In a CI pipeline, the CLI runs as an ordinary shell step. Install it on the runner with the Linux commands from the "Prebuilt binaries" step in the "Install the Webshare CLI" section, then authenticate with an API key.
Store the key in your CI provider's secret storage (for example, GitHub Actions secrets) and expose it to the job as the WEBSHARE_API_KEY environment variable. That keeps the key out of your source code and your pipeline file, and most CI providers also hide secret values in job logs.
Each of the examples below is a plain shell command, so it works the same way in any CI system.
Prepare proxies before an integration test
If your tests send requests through proxies, use the command below to export the list in a step before the tests run so they use your current proxies.
webshare proxies list --limit 0 > proxies.txtPull your proxy configuration during deployment
When your app reads its proxies from a config file, you can generate that file during deployment instead of committing it. This command writes the full list as CSV.
webshare proxies list --format csv --limit 0 > config/proxies.csvValidate account resources before a data job
Before a long data job starts, check that the API key works and see which plan the job will run on. webshare whoami shows your account, subscription, and active plan, and if the key is missing or invalid, the command exits with an error that fails the step.
webshare whoamiIf you want the job to stop when bandwidth runs high, you can reuse the threshold script from the "Check proxy usage from the terminal" section. When usage goes over your limit, it exits with code 3, and that fails the CI step too.
To get started, install the Webshare CLI, sign in with webshare login or your API key, and run your first export. For every command and flag, see the CLI README on GitHub.
CLI vs SDK vs MCP
The Webshare CLI is one of three interfaces for managing your Webshare proxies, and each one suits a different kind of work.
If your proxy management lives inside your application, the SDK quickstart covers the same tasks in Python and Node.js. If you'd rather ask an AI client to check usage or replace a specific proxy, the MCP Server setup guide shows you how to connect one.