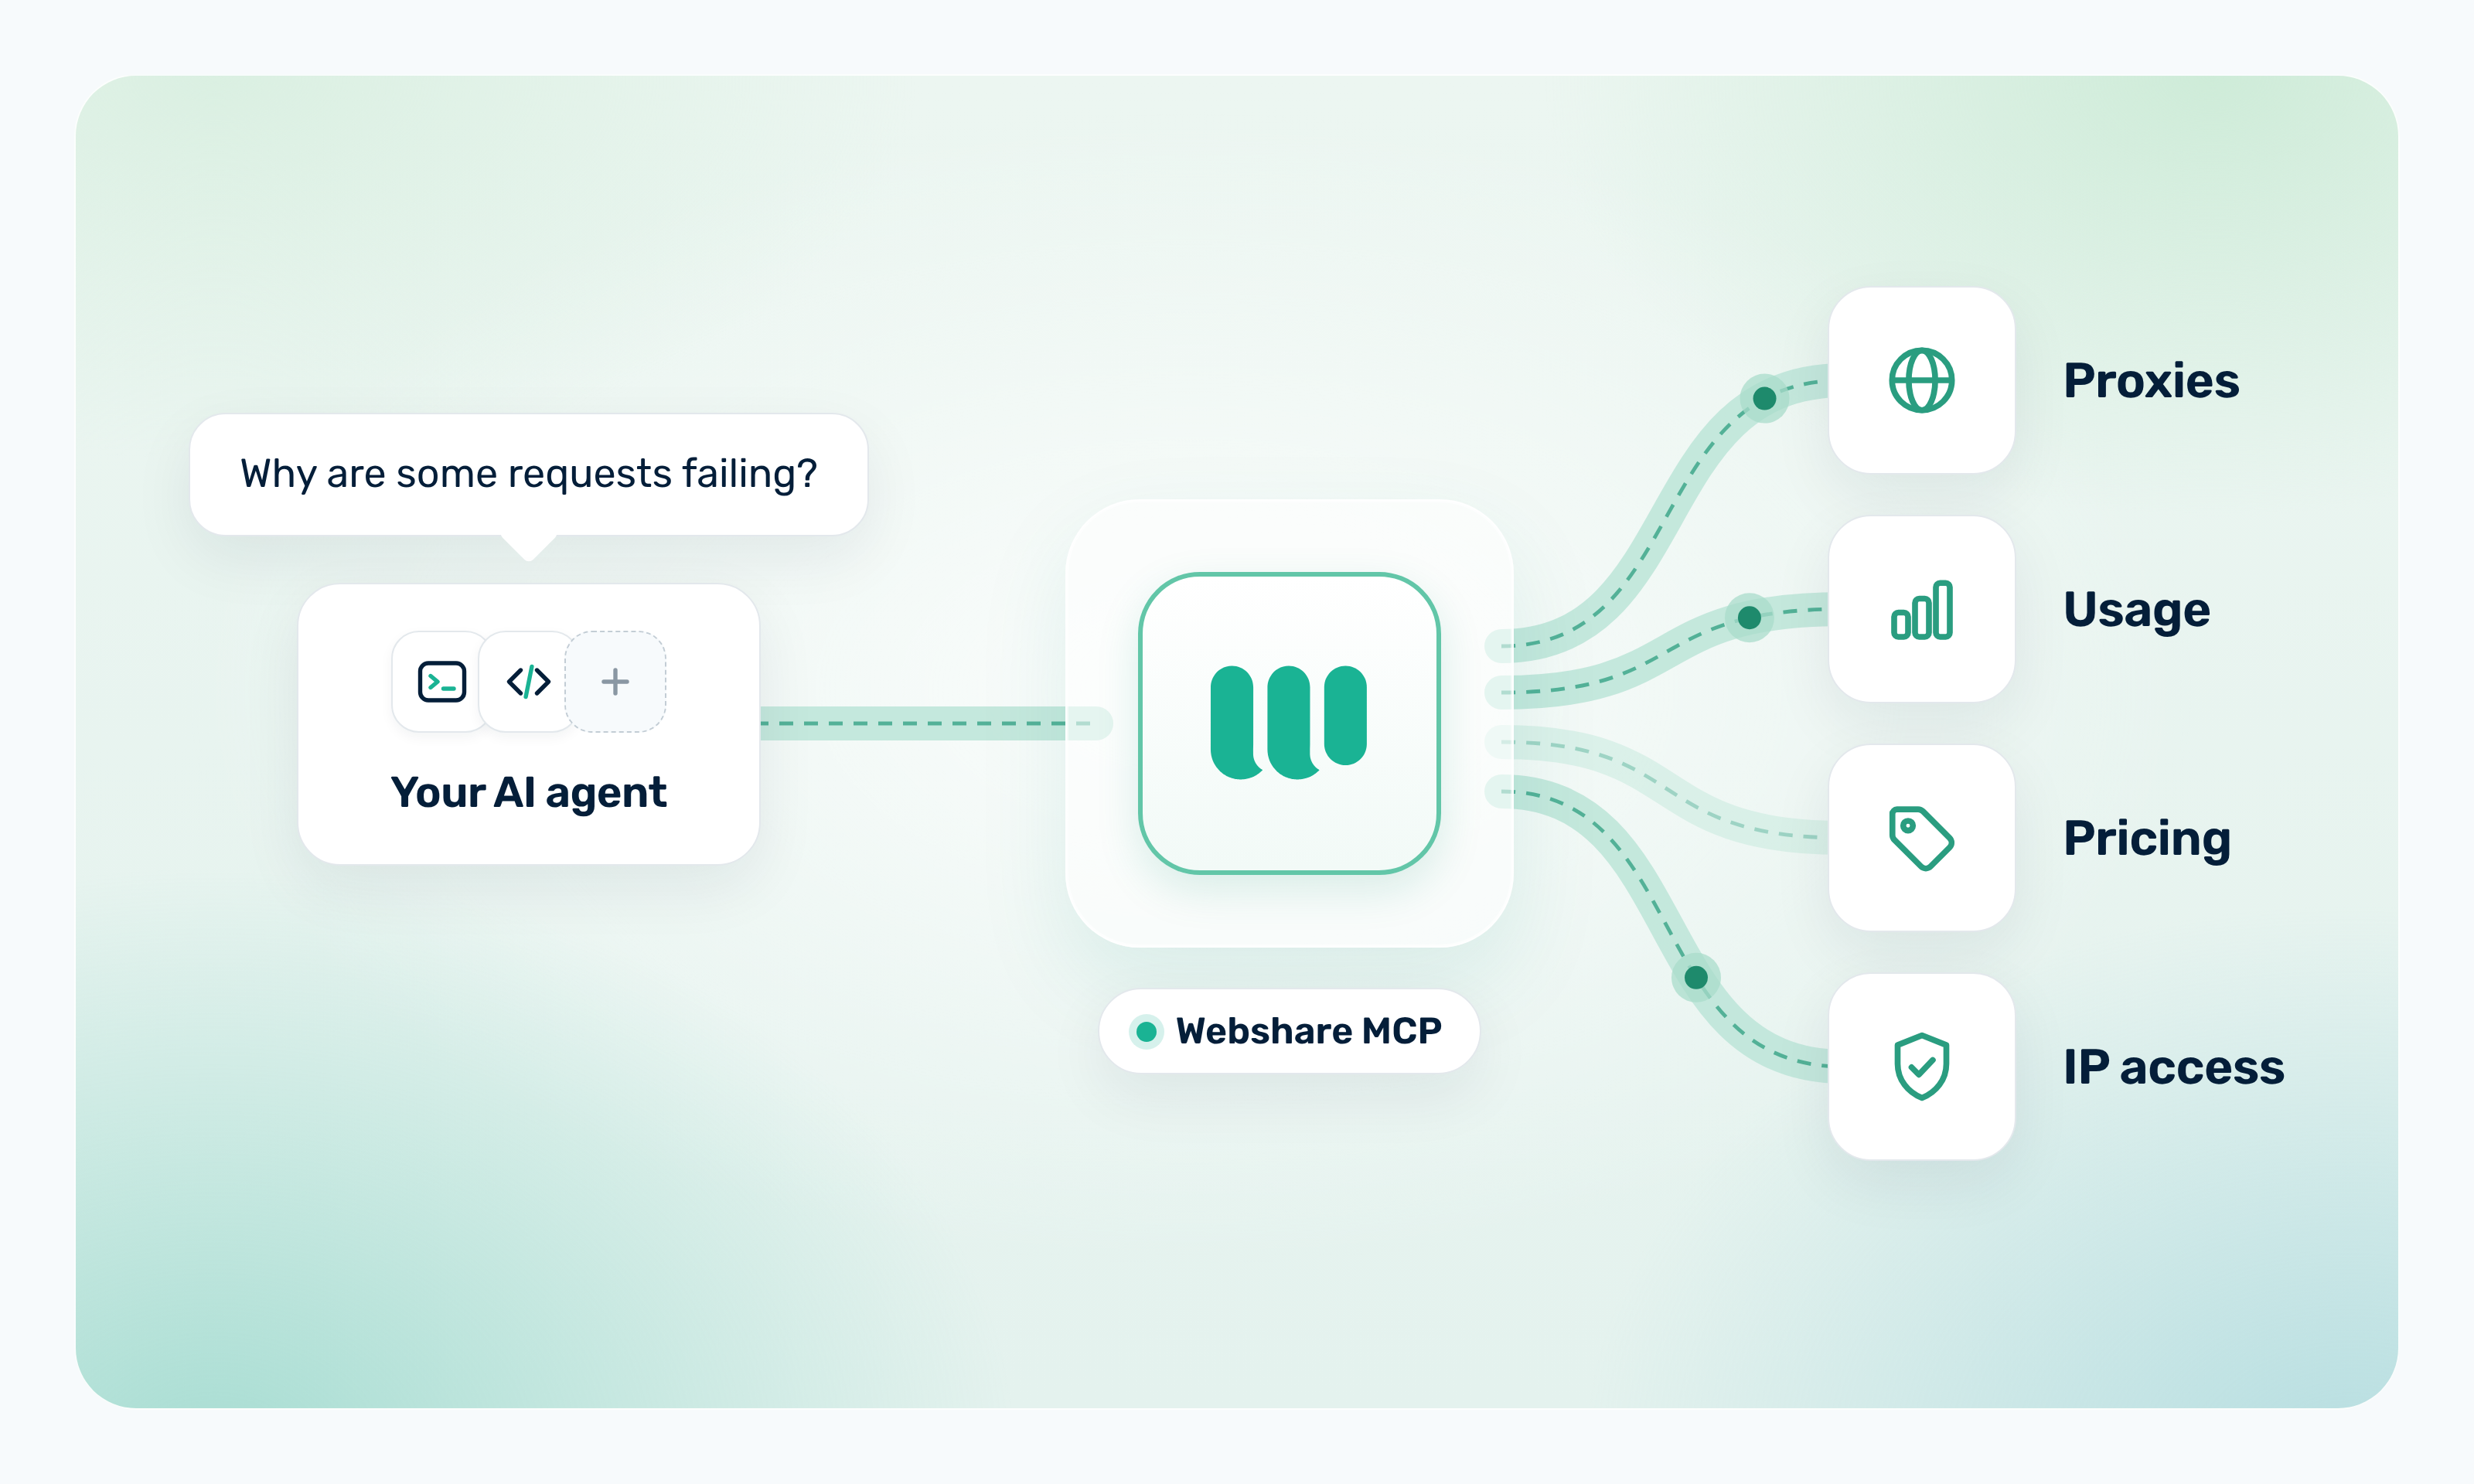
The Webshare MCP Server lets supported AI clients, such as Claude Code and Cursor, work with your Webshare proxy setup through the Model Context Protocol (MCP). Once connected, you can ask your AI client to retrieve proxy information and run supported management actions without switching to the dashboard.
This guide explains what the Webshare MCP Server is, what you can do with it, and what your agent can and can't change in your account. You'll also learn how to set it up in Claude Code and Cursor, try example prompts for managing your proxies, and see when MCP is a better fit than the SDK or CLI.
TL;DR
- The Webshare MCP Server connects supported AI clients, such as Claude Code and Cursor, to your Webshare account through the Model Context Protocol.
- Once connected, you can use natural-language prompts to check proxy information, test your proxies, and run supported management actions.
- Read-only access is the default. On the OAuth consent screen, the four read permissions are selected, and
proxy:writeandbilling:writearen't. You can grant write access only when you need it, untick read permissions you don't want to share, and revoke access at any time from Integrations → Connected Apps. - The Webshare MCP Server setup takes a few steps. You add the server to your client's configuration, sign in to Webshare with OAuth when prompted, and test the connection with a simple request. You don't need an API key.
- The MCP Server manages your Webshare proxies. It doesn't scrape websites or run AI agents for you.
- To manage proxies in application code, use the SDK. For scripts, cron jobs, and CI, use the CLI.
What Is the Webshare MCP Server?
The Webshare MCP Server is a hosted server that makes supported Webshare proxy-management features available to AI clients through the Model Context Protocol (MCP), an open standard for connecting AI applications to external tools and data sources.
In other words, it's an MCP server for proxies you already run on Webshare. Because it's hosted, there's nothing to install on your machine.
Your AI client never works with your Webshare account directly. Each request follows the same path:
- You ask your AI client something, such as how much bandwidth you've used this month.
- The client calls the matching tool on the Webshare MCP Server.
- The MCP Server runs that action on your Webshare account and sends the result back to your client.
The MCP Server works with Claude Code, Claude and Claude Desktop, Cursor, and any other client that connects to remote MCP servers over Streamable HTTP with OAuth. This guide walks through Claude Code and Cursor.
Webshare still provides the proxy infrastructure itself. The MCP Server gives your AI client a way to manage your proxies, but it doesn't carry your agent's web traffic.
If your agent browses or collects data from websites and needs proxies for those requests, see the guide to proxies for AI agents.
What Can You Do With the Webshare MCP Server?
Proxy management with MCP turns dashboard lookups into requests you make in your AI client. Instead of clicking through the dashboard to find a failing proxy or check this month's usage, you ask, and your client calls the right tool.
The server has 42 tools, and once it's connected, your agent can:
- Check how much bandwidth you've used
- Check proxy status
- Test your proxies, including against a site you choose
- Troubleshoot proxy errors
- Replace proxies
- Review proxy locations
- Review authorized IPs and notifications
- Check whether a verification or suspension is limiting your account
What Your AI Agent Can and Can't Change
Of the 42 tools on the Webshare MCP Server, 35 only read data, and seven change your live account.
Read-only tools (35)
These tools return information and don't change your account or proxy configuration.
Proxy tests count against an hourly limit of 100 proxies, or 25 when you test against a specific site.
Write tools (7)
These tools change your live proxy setup or billing, and each one needs the matching write permission.
Because these actions change your live account, review what your agent plans to do before you approve a write call.
No permission lets your agent buy, renew, or upgrade a plan, add a payment method, manage API keys, or change your login and security settings. Your agent can't spend money or change how you sign in.
Read-only access is the default. The consent screen lists four read permissions, proxy:read, account:read, billing:read, and catalog:read, and ticks all of them for you. The two write permissions, proxy:write and billing:write, start unticked. You can grant write access only when you need it and untick any read permission you don't want to share, as long as at least one permission stays ticked.
Your agent sees only the tools your permissions cover, and calls to anything else are refused. For example, unticking billing:read keeps your payment and transaction details away from the agent.
You can revoke your agent's access at any time from the Connected Apps page in your dashboard (Integrations → Connected Apps), and you may be asked for a two-factor authentication code. To change its permissions later, disconnect it and connect it again.
How to Connect Webshare MCP to Claude Code
To connect Webshare MCP to Claude Code, you add the server with one terminal command, then sign in to Webshare in your browser. You'll need Claude Code installed and signed in before you start.
1. Create or access your Webshare account
Log in to your Webshare account, or create one if you don't have one yet. The MCP Server works on every plan, including the free one. Only the account owner can connect apps, so if you're signed in as a sub-user, switch to the owner account first.
2. Add the Webshare MCP Server to Claude Code's MCP configuration
Exit Claude Code if it's open, then run this command in your terminal from your project directory.
claude mcp add --transport http webshare https://mcp.webshare.io/By default, Claude Code saves the server for the folder you ran the command in. If you want Webshare available in every project, run the same command with --scope user instead.
claude mcp add --scope user --transport http webshare https://mcp.webshare.io/Claude Code's MCP quickstart explains how these scopes work.
3. Sign in to Webshare with OAuth
Start Claude Code, run /mcp, select webshare, and choose Authenticate. Your browser opens Webshare, where you log in if asked and check that the app name is Claude Code.
The consent screen ticks the four read permissions for you and leaves every write permission unticked. Tick a write permission only if you want Claude Code to make that kind of change, then click Allow Access. You don't need an API key.
4. Confirm the MCP Server is available
Run /mcp again in Claude Code. webshare should now show a tick and the number of tools available. If it still says it needs authentication, go back to step 3 and sign in again. The consent link expires after 10 minutes and works only once, so start a fresh sign-in instead of reusing an old browser tab.
5. Run a test request
Ask Claude Code to "List my Webshare proxies grouped by country." If the connection works, you'll get your proxies back, grouped by country.
For the complete Webshare MCP Server setup in Claude Code, including every permission on the consent screen and how to change access later, see our full Claude Code setup instructions.
How to Connect Webshare MCP to Cursor
To connect Webshare MCP to Cursor, you add the server to Cursor's MCP config file, restart Cursor, and sign in to Webshare from Cursor's Customize page. Webshare also shows these steps in your dashboard under Integrations → MCP Server → Cursor.
1. Open Cursor's MCP config file
Cursor reads MCP servers from a JSON file. Use ~/.cursor/mcp.json in your home directory to make Webshare available in every project, or .cursor/mcp.json inside a project folder to keep it to that one project. If the file doesn't exist yet, create it.
Cursor's MCP documentation explains how the global and project config files work.
2. Add the Webshare MCP Server
Paste this entry into the file:
{
  "mcpServers": {
    "webshare": {
      "url": "https://mcp.webshare.io/"
    }
  }
}
If the file already lists other servers, add the webshare entry inside your existing mcpServers object instead of replacing it.
3. Save and reload Cursor
Save the file, then restart Cursor so it loads the new server.
4. Sign in to Webshare with OAuth
Open Customize → MCPs in Cursor and sign in to webshare. Your browser opens Webshare, where you log in if asked and check that the app name matches the client you're connecting to. Only the account owner can connect apps, so switch to the owner account if you're signed in as a sub-user.
The four read permissions are ticked for you, and all write permissions are unticked. Tick a write permission only if you want Cursor to make that kind of change, then click Allow Access. You don't need an API key.
5. Confirm the tools are available
Go back to Customize → MCPs and check that webshare shows as connected and enabled.
6. Test a proxy-management request
Ask Cursor something like "How much bandwidth have I used this month?" By default, Cursor asks for your approval before it runs an MCP tool, so approve the call when the prompt appears. You'll then get your bandwidth usage back in the chat.
Once you're connected in either client, you can manage your proxies without leaving your terminal or editor.
Ready to manage your proxies from Claude Code or Cursor? Connect your AI agent to Webshare.
Example Prompts for Managing Webshare Proxies
Once the server is connected, you can ask for what you need in plain language, and your AI client picks the right tool. Here are a few prompts to try:
- "How much bandwidth have I used this month?" Your agent pulls your bandwidth use and request counts for the current month. If you have more than one plan, you'll see the numbers for each one.
- "Show me the proxies currently configured in Germany." You get the proxies on your plan filtered to Germany, with each proxy's address, port, city, and ASN. On Rotating Residential, you'll get the endpoint sessions instead of a fixed list. The list shows addresses, not credentials. If you ask for your proxy username and password, your agent fetches them separately, and they pass through your AI client, so connect only clients you trust.
- "Which of my proxies are reporting problems?" Your agent checks your error stats and breaks failures down by reason, with troubleshooting guidance for each one. Error stats are counted per plan, not per proxy, so to find the proxies behind them, your agent filters your proxy list by validity and shows which ones are no longer valid.
- "Test my proxies against example.com." Your agent sends a request through each proxy and reports whether it got through, the exit IP and its country, and the response time, with an error code for any proxy that failed. It uses your plan's credentials without showing them in the chat. A proxy that passes here but fails in your own setup points to your code, your network, or the target site.
- "Replace the proxies in Germany." This prompt changes your account, so it only works if you ticked
proxy:writewhen you connected. As written, it replaces every German proxy on your plan and uses one replacement credit per proxy. To limit it, say how many, for example "Replace 3 of my German proxies." Your agent can do a dry run first to show how many proxies would be removed and added, and it's worth asking for one before you approve the change. Replacement credits come with paid plans, and replacements can't be undone. - "Show me my current proxy usage and available resources." Your agent pulls your bandwidth and request stats along with your plan details. You'll see what you've used next to your plan's proxy count, bandwidth limit, and quotas, plus the refreshes and replacements you have left on your plan.
When Should You Use MCP Instead of the SDK or CLI?
Webshare gives you three ways to manage your proxies outside the dashboard. Proxy management with MCP fits when you want to ask questions and make changes from your AI client. When the work runs in your own code or on a schedule, it's better to use the SDK or CLI.
For scripts and scheduled jobs, you can manage Webshare proxies from the terminal with the Webshare CLI. If you'd rather work from your application's code, you can manage Webshare proxies in code with the SDK, which is available in Node.js, Python, and Go.